AI Face Swap: Complete Guide to Realistic Results
Master AI face swapping with our complete guide. Learn source image selection, advanced techniques, and tips for seamless, natural-looking results.
AI Face Swap: Complete Guide to Realistic Results
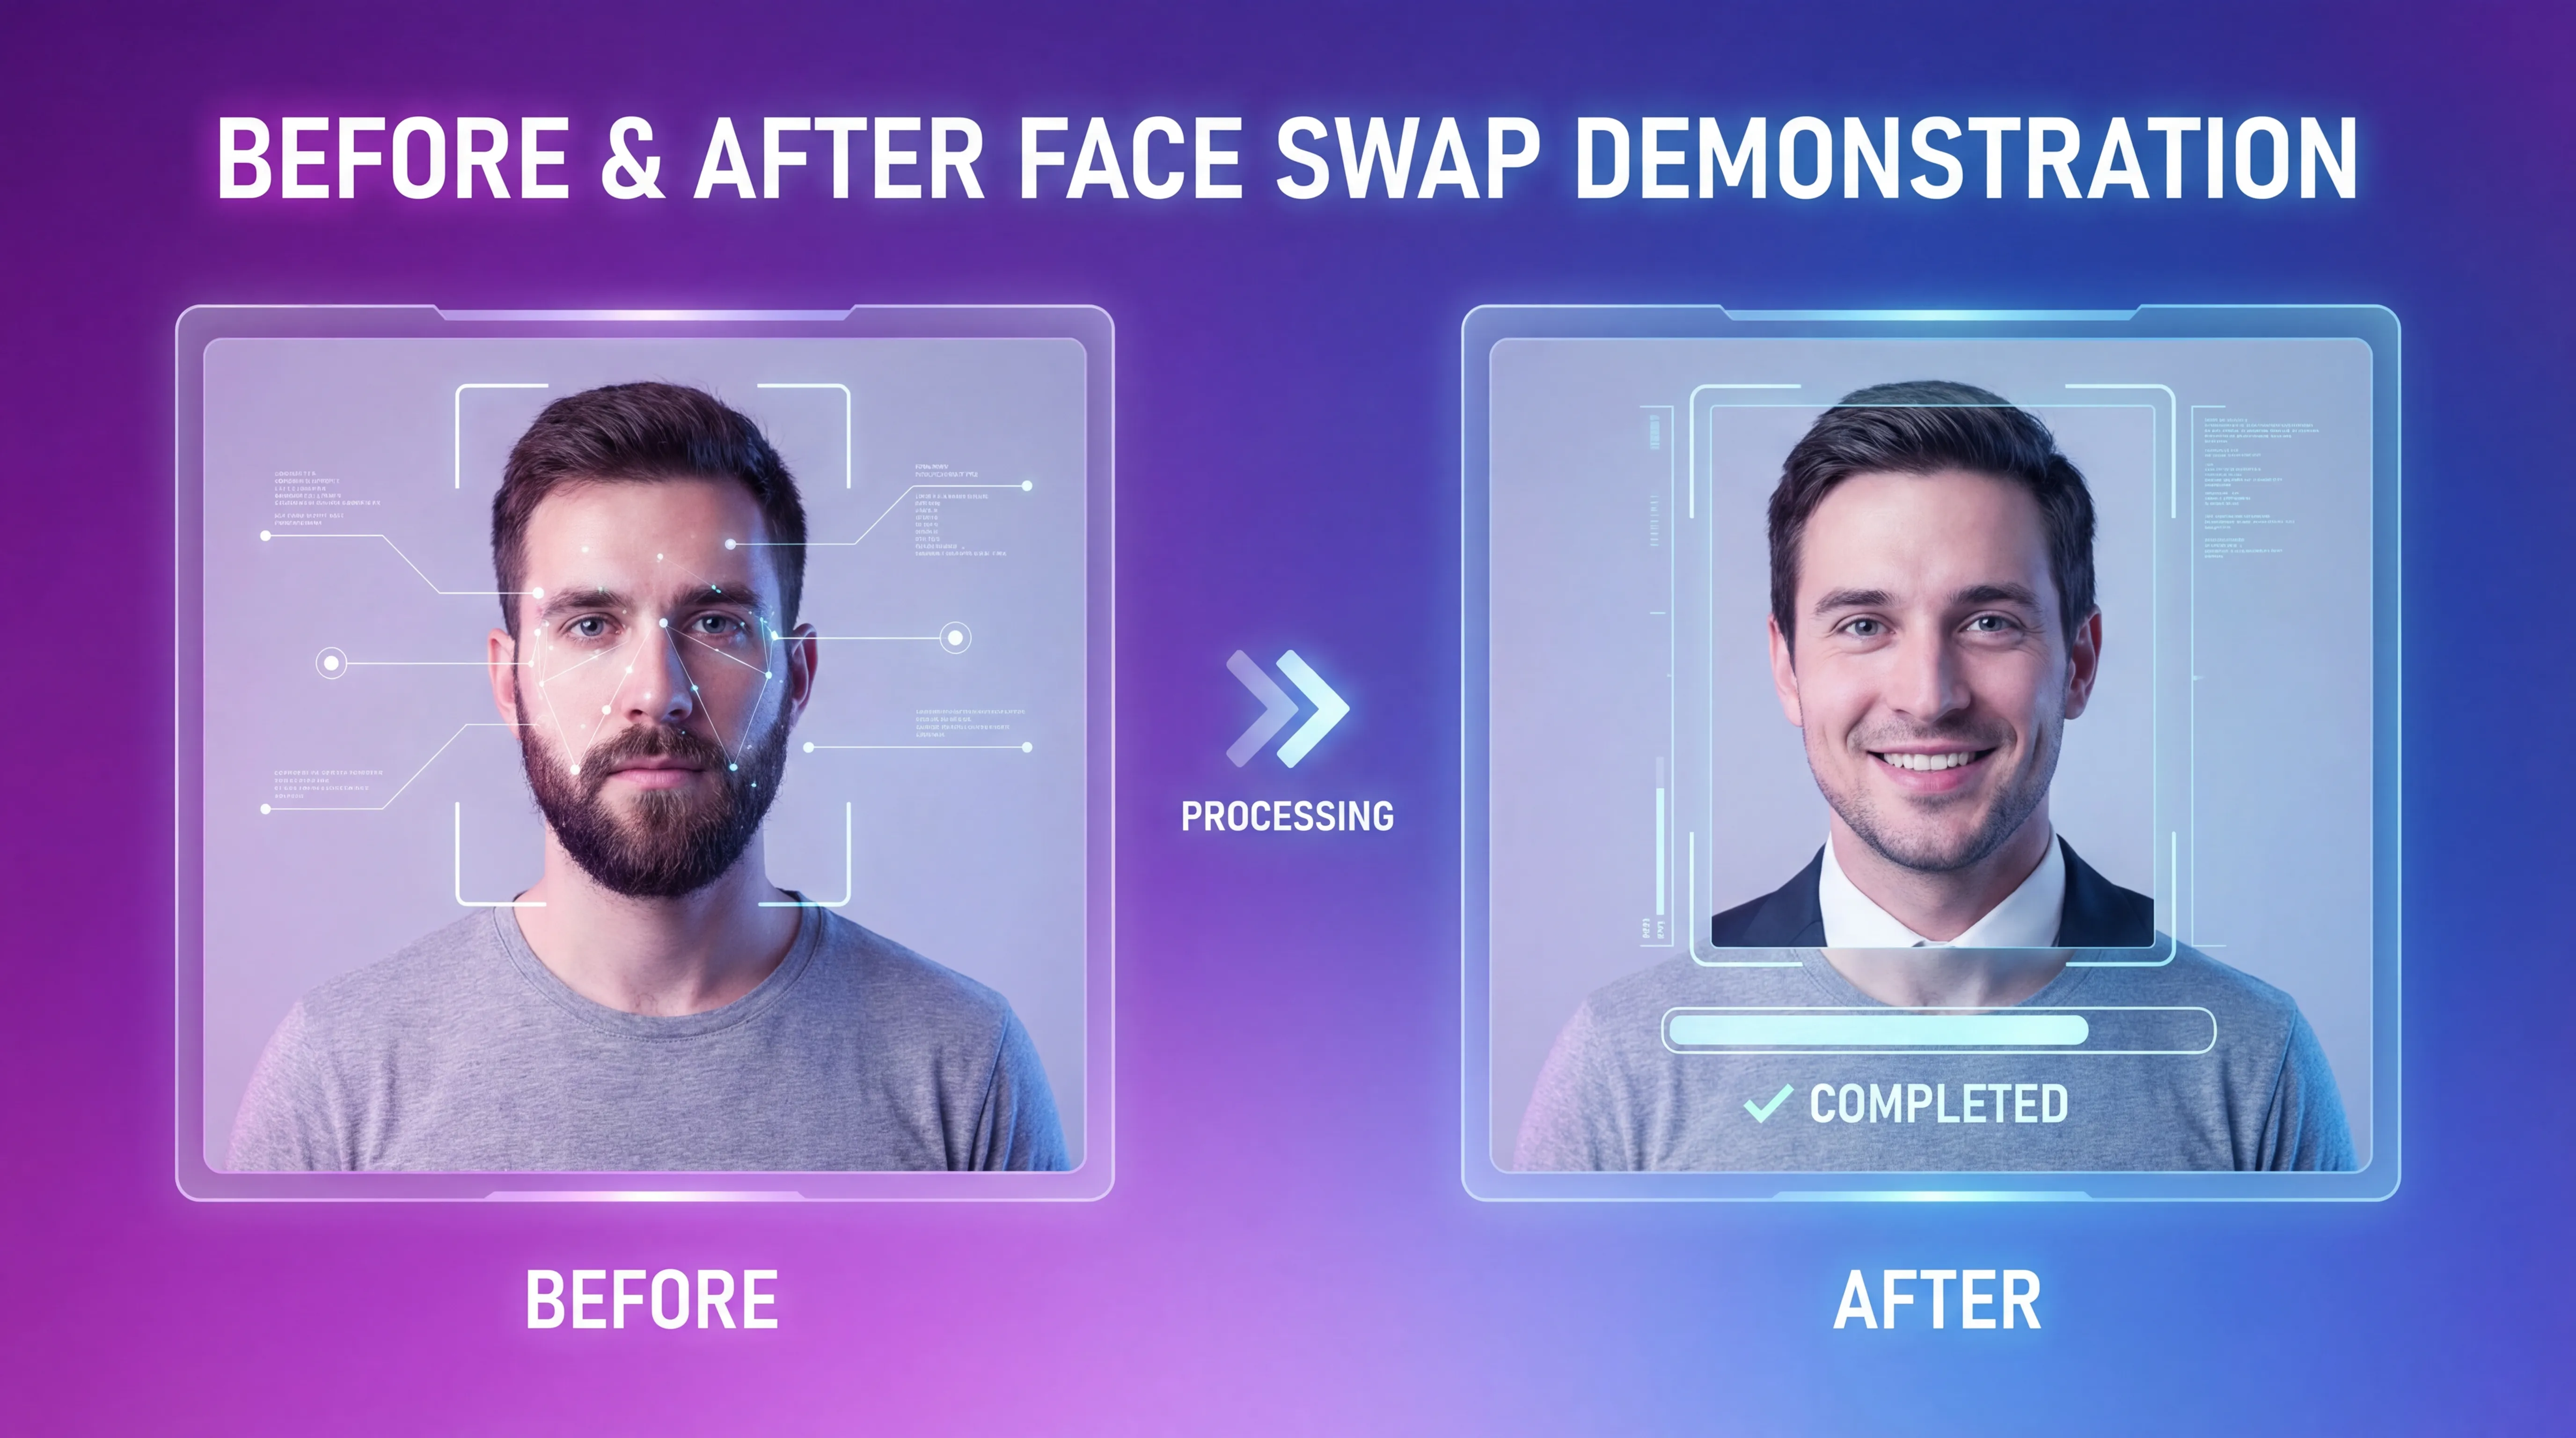
Face swap technology has evolved from obvious, uncanny results to seamlessly realistic transformations. What once required hours of manual Photoshop work now takes seconds with AI—but getting truly natural results still requires understanding the technology and its best practices.
Whether you're creating content for your AI influencer, producing marketing materials, or exploring creative projects, this guide covers everything you need to know about achieving professional-quality face swaps.
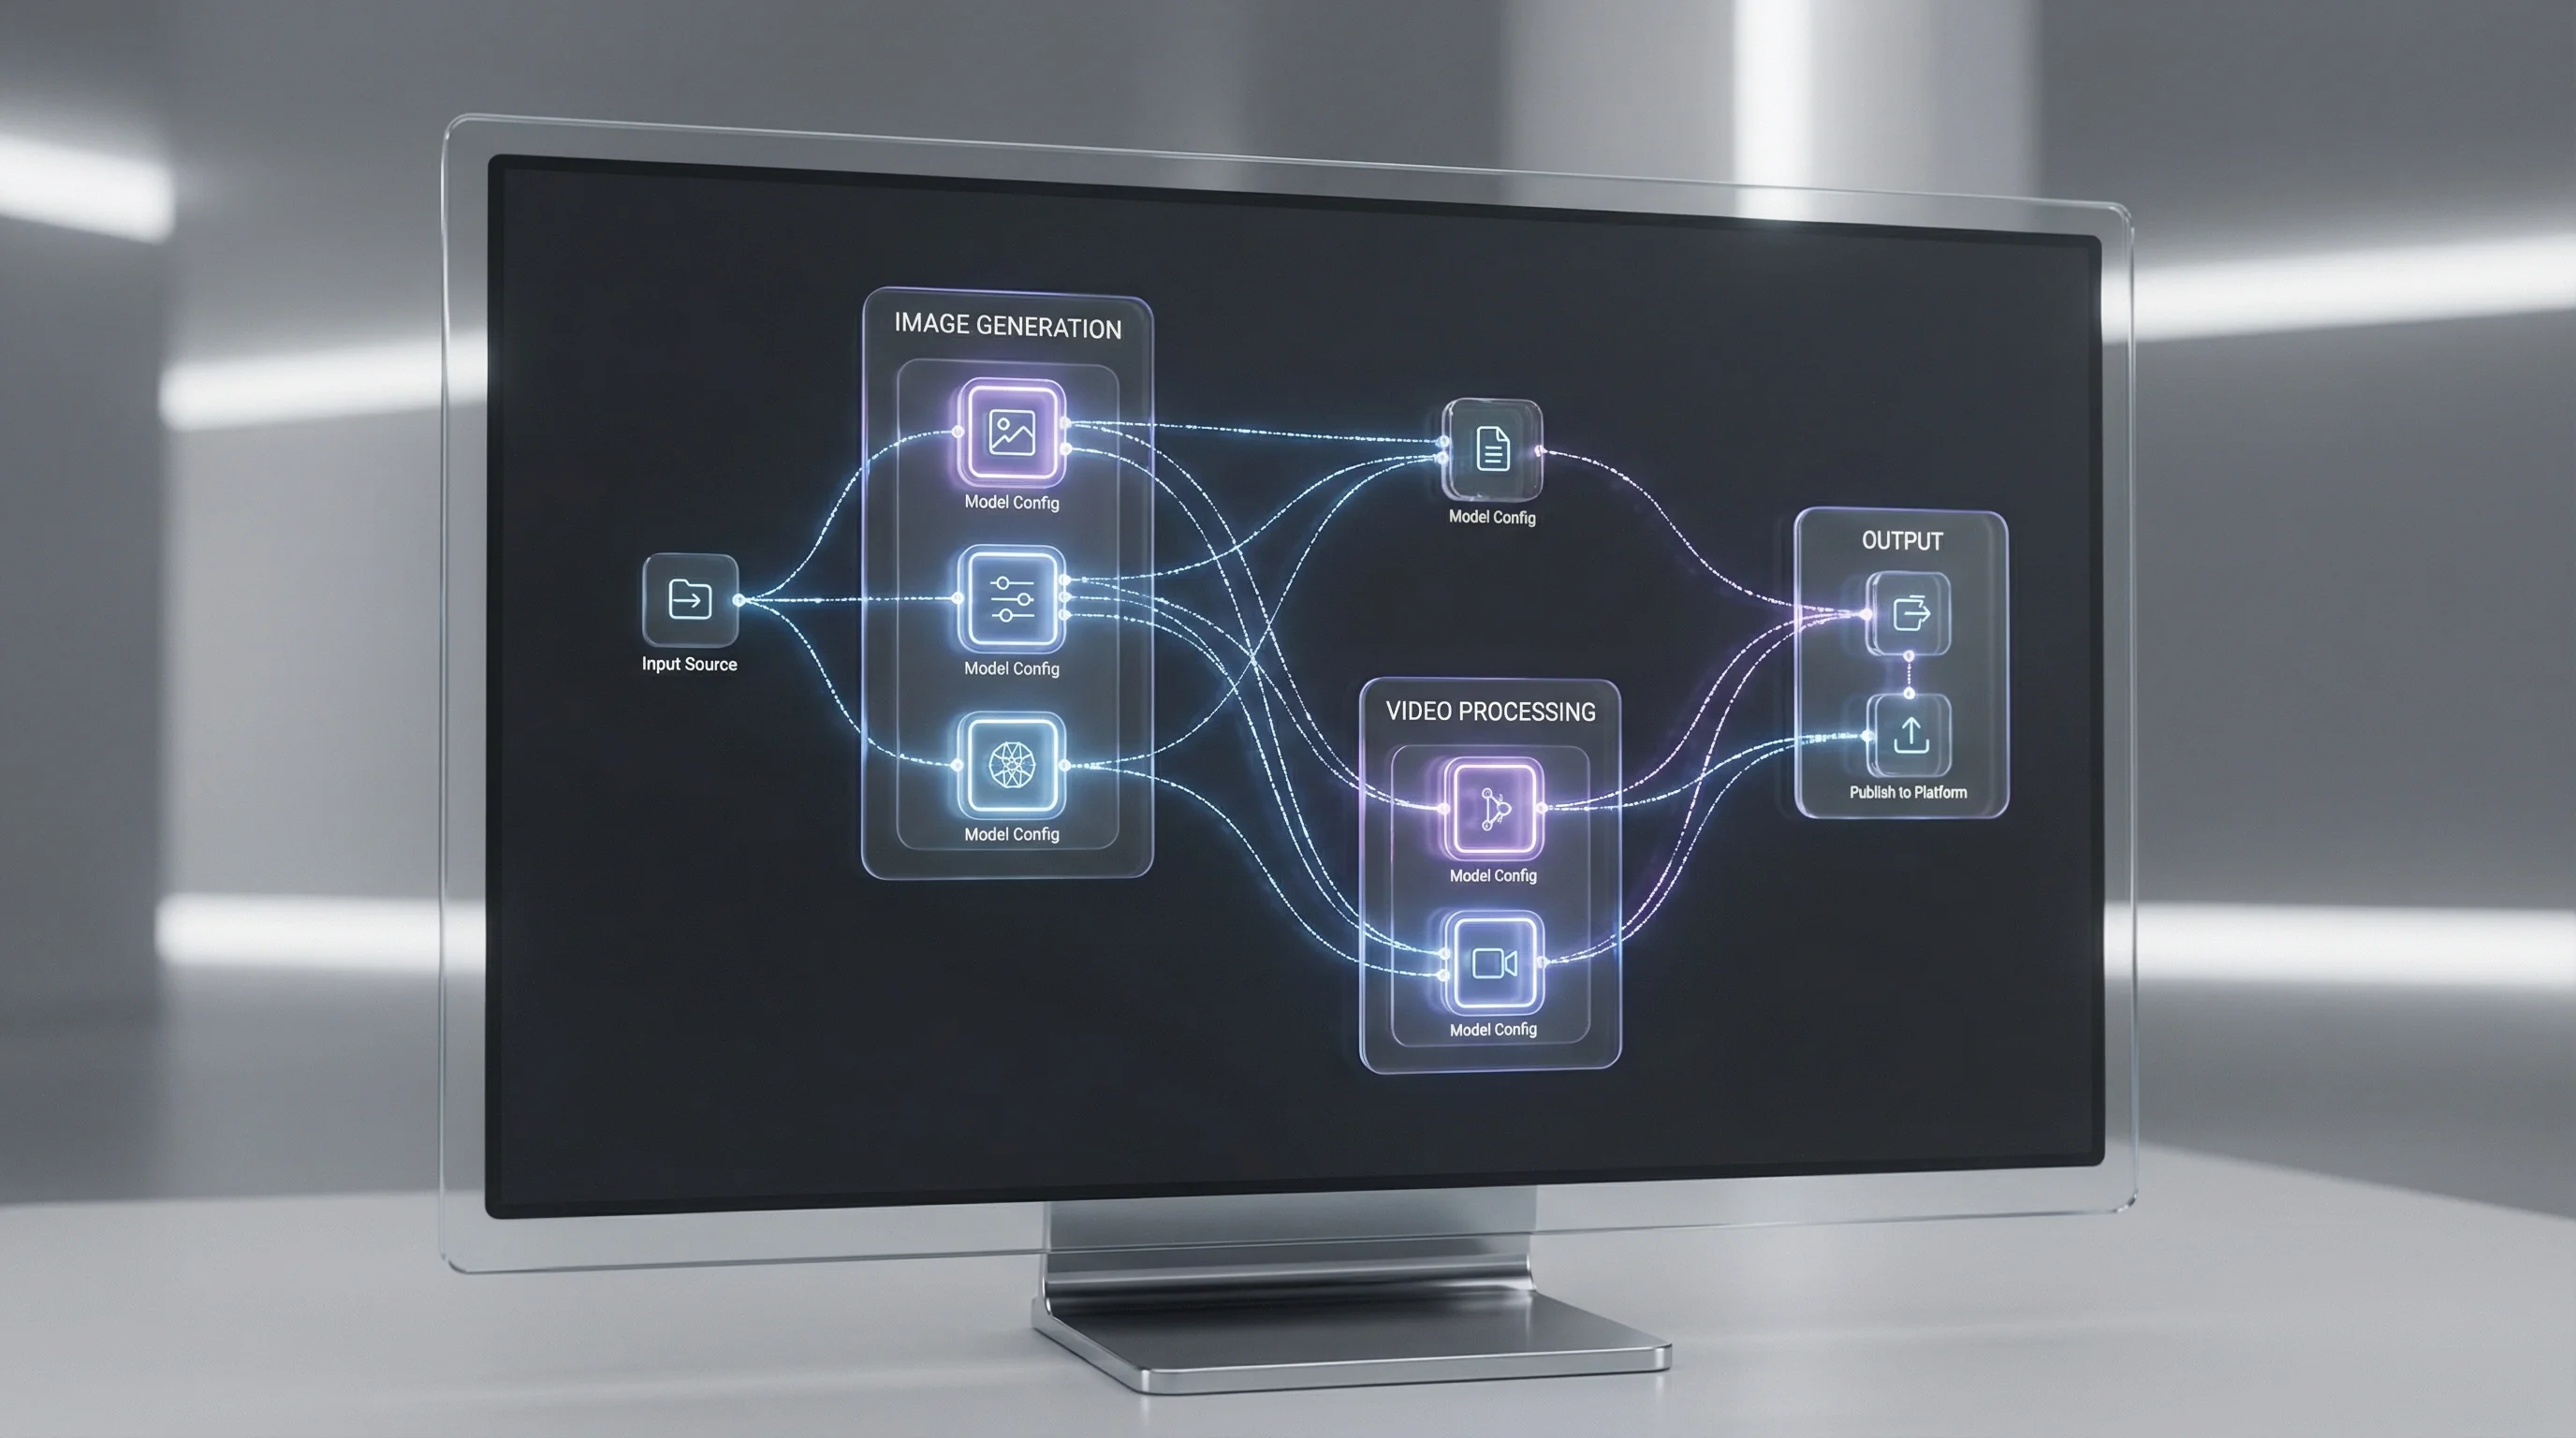
How AI Face Swap Technology Works
Before diving into techniques, understanding the underlying technology helps you get better results.
The Detection Phase
AI face swap begins with facial detection and landmark mapping. The algorithm identifies:
- Face boundaries: Where the face begins and ends
- Key landmarks: Eyes, nose, mouth, jawline positions
- Facial angle: Orientation and tilt of the face
- Lighting direction: How light falls across features
Modern AI can detect faces at extreme angles and in challenging lighting conditions, though results vary based on clarity.
The Transformation Phase
Once faces are detected in both source (the face you want) and target (the image you're modifying) images, the AI:
- Extracts facial features from the source
- Maps them to the target geometry accounting for angle differences
- Blends skin tones and lighting to match the target environment
- Refines edges for seamless integration
- Adjusts colors and shadows for consistency
This happens in milliseconds, but the quality depends heavily on input conditions.
Why Some Swaps Look Better Than Others
The AI is essentially solving a complex matching problem. When source and target conditions are similar, results are excellent. When they differ significantly, the AI must interpolate—and that's where artifacts appear.
Common causes of poor results:
- Extreme angle differences between source and target
- Drastically different lighting conditions
- Mismatched resolution or image quality
- Occlusions (hair, hands, objects covering the face)
- Strong expressions that don't match body language
Choosing the Right Source Images
Your source image—the face you want to apply—determines 80% of your result quality. Here's how to choose wisely.
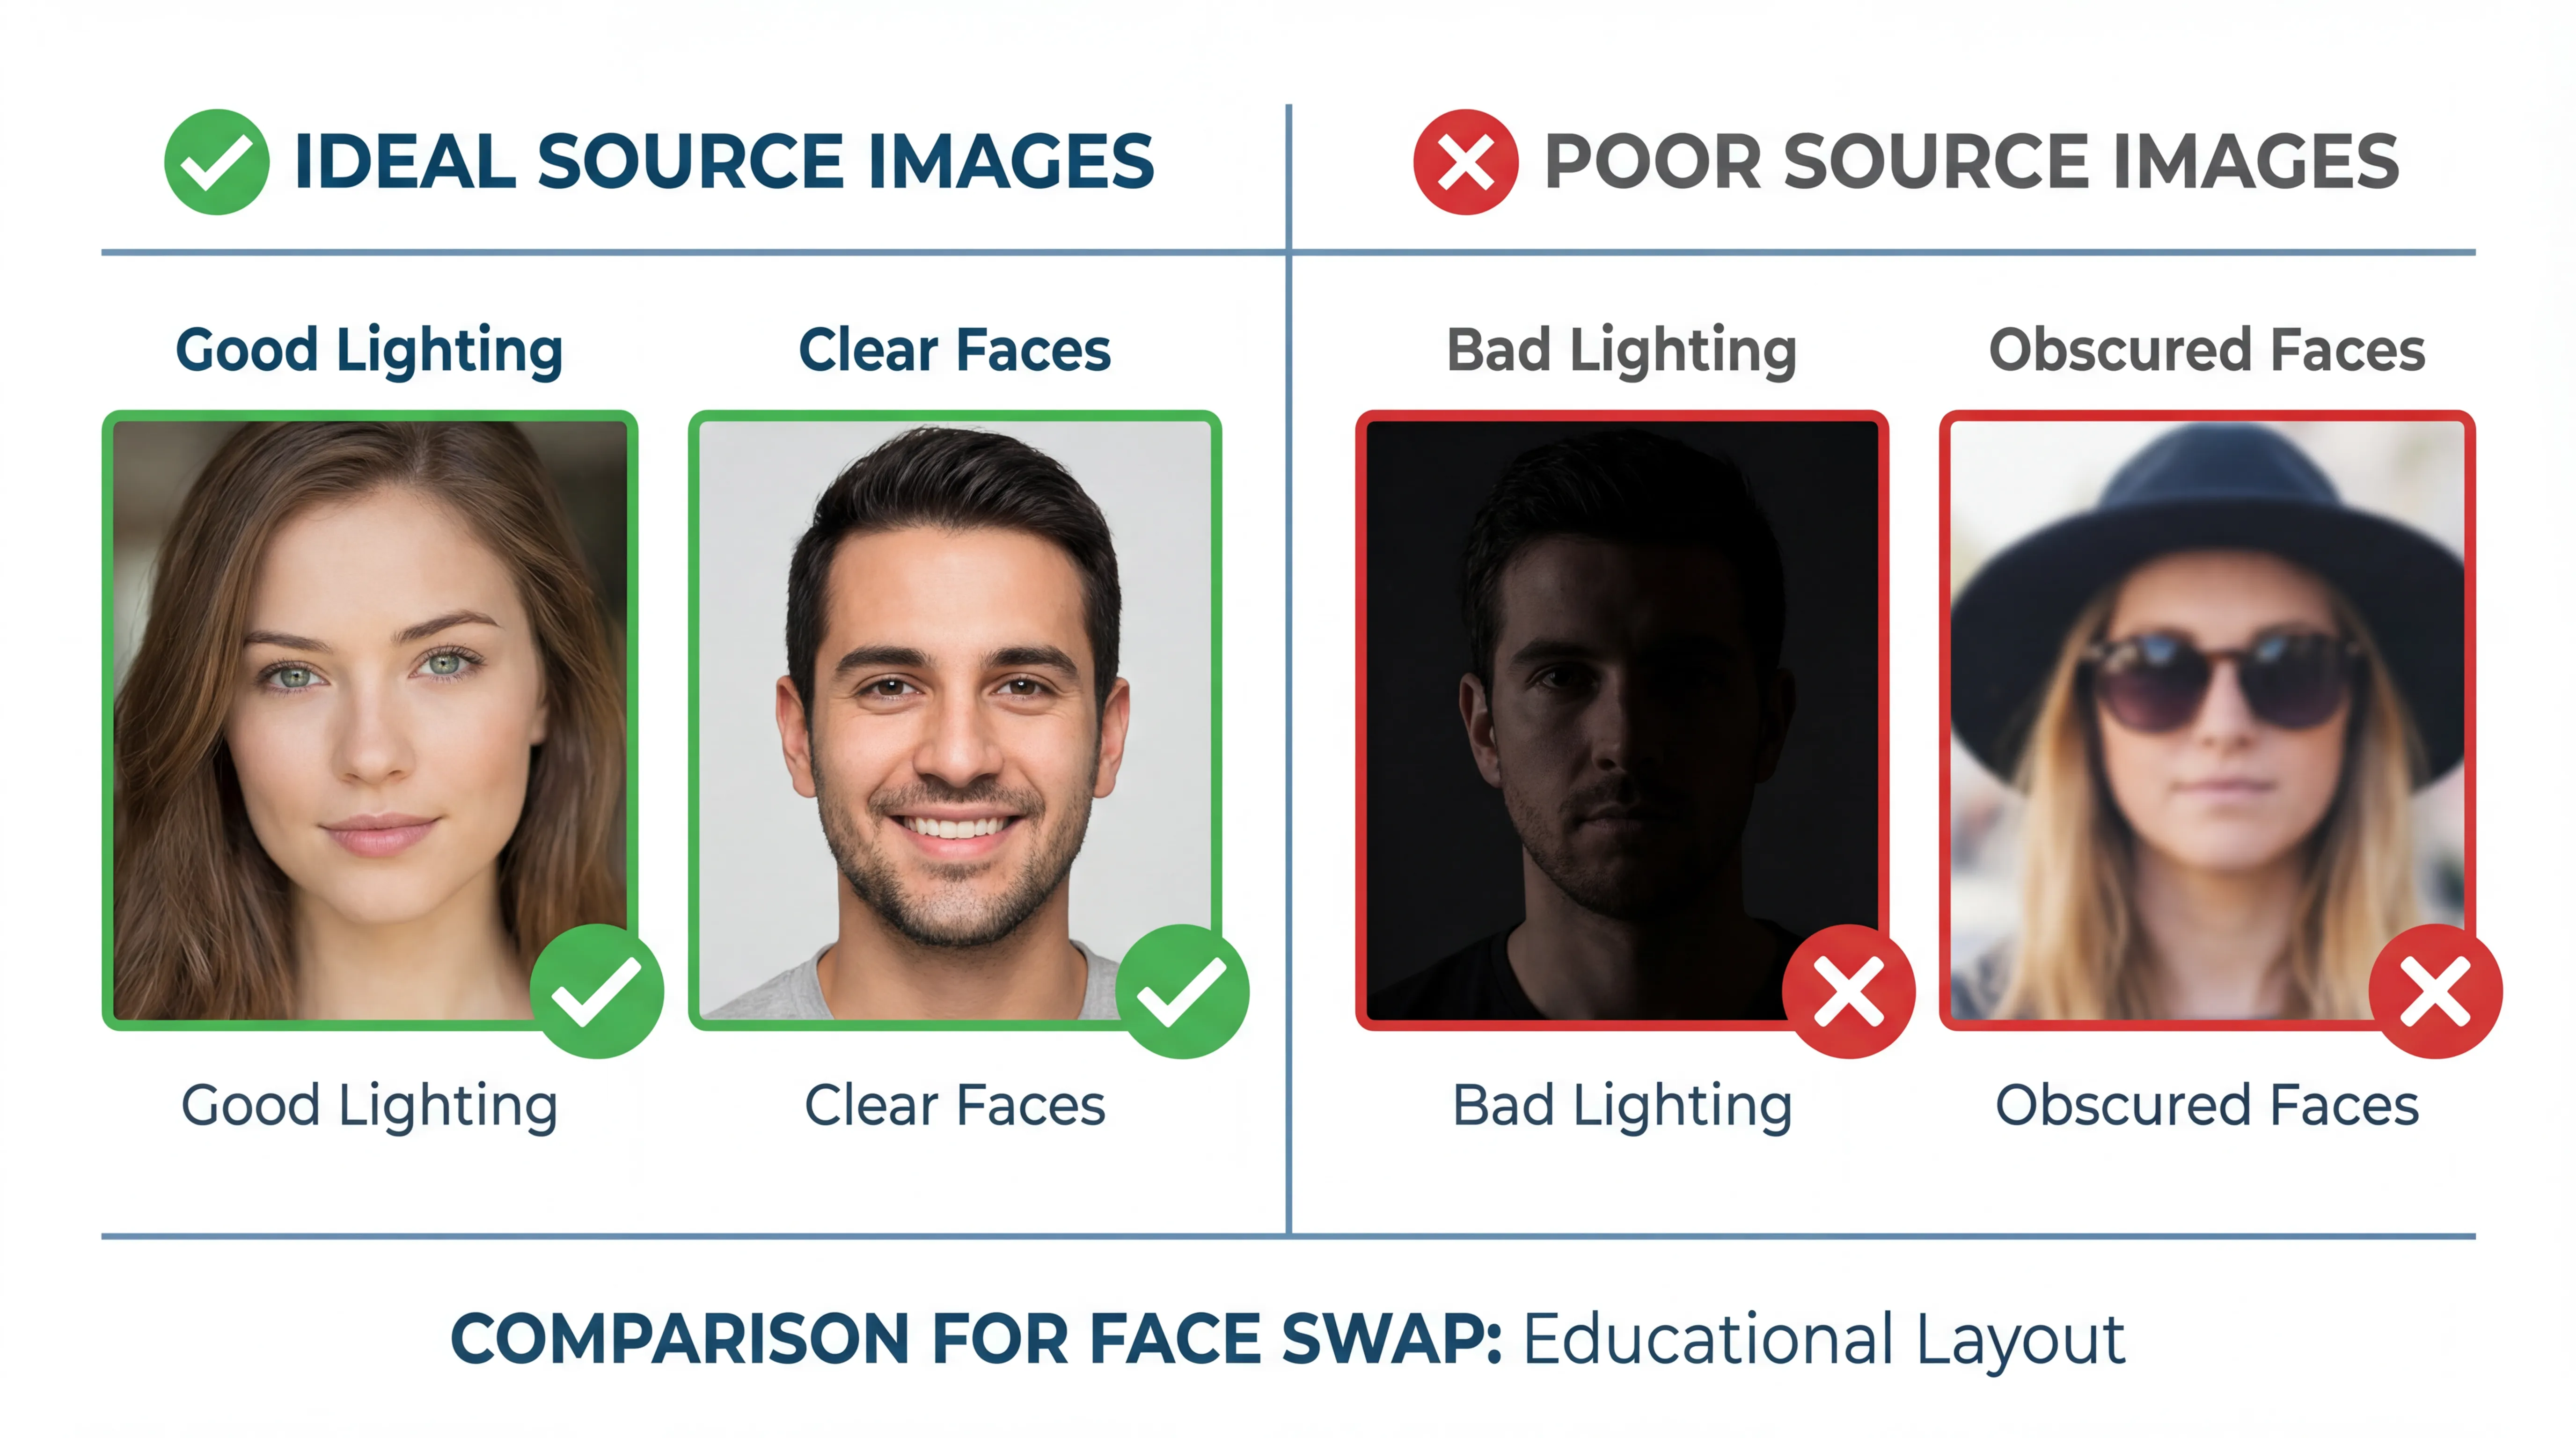
Ideal Source Image Characteristics
High Resolution: At least 512x512 pixels for the face area alone. Higher resolution means more detail to work with. If your source face is only 100 pixels wide, expect blurry results.
Clear, Unobstructed View: The entire face should be visible. No hair covering features, no hands touching the face, no glasses if possible. Partial occlusion requires the AI to guess, and guessing creates artifacts.
Neutral or Matching Expression: If your target image shows someone laughing, a source face with a neutral expression will look wrong even if technically well-swapped. Match expressions when possible.
Front-Facing or Matching Angle: The closer your source angle matches your target angle, the better. A profile source on a front-facing target requires extreme transformation and rarely looks natural.
Even Lighting: Harsh shadows on the source face will carry over. Soft, even lighting gives the AI the cleanest data to work with.
Building a Source Library
For ongoing projects, especially AI influencer content, maintain a library of source images:
- Multiple angles: Front, three-quarter, left profile, right profile
- Various expressions: Neutral, smiling, serious, surprised
- Different lighting: Natural, studio, warm, cool
- Various resolutions: High-res originals plus cropped face versions
With a comprehensive library, you can always find a source that closely matches your target conditions.
Step-by-Step Face Swap Tutorial
Let's walk through the complete process using Fizzly's Face Swap tool.
Step 1: Prepare Your Images
Before uploading anything:
- Select your target image: The base image you want to modify
- Choose your source face: The face you want to apply
- Verify compatibility: Similar angles and expressions work best
- Check quality: Both images should be high resolution and well-lit
Step 2: Upload to the Face Swap Tool
Navigate to Face Swap and upload both images:
- Target image: The full scene with the face you want to replace
- Source image: A clear image of the face you want to use
The interface will show previews of both with detected face regions highlighted.
Step 3: Verify Face Detection
Check that the AI correctly identified:
- The face in your source image
- The face(s) in your target image (for group shots, you may need to specify which face to replace)
If detection seems incorrect, try a different image or adjust cropping to make the face more prominent.
Step 4: Generate the Swap
Click generate and wait for processing. Face swap typically completes in seconds, not minutes.
Step 5: Review and Iterate
Examine your result carefully:
- Check edges: Is the face boundary seamless?
- Examine lighting: Does the face match the scene lighting?
- Look at expression: Does it match the body language?
- Inspect details: Eyes, teeth, skin texture—are they natural?
If results aren't perfect, try:
- A different source image with better matching conditions
- Adjusting source image cropping
- Using a higher resolution source
Advanced Tips for Natural Results
Basic face swaps are straightforward. Achieving truly undetectable results requires attention to detail.
Matching Lighting Direction
The single biggest giveaway in face swaps is mismatched lighting. If your source face has light from the left but the target scene has light from the right, the result will look composited.
Solutions:
- Choose source images with matching light direction
- Flip your source image horizontally if lighting is reversed
- Use neutral, even lighting in source images for maximum flexibility
Expression and Context Matching
A smiling face on a body that's clearly tense or angry creates cognitive dissonance. Even if the swap is technically perfect, it will feel "wrong."
Before swapping, analyze:
- What is the body language in the target?
- What emotion should the face show?
- Does your source face match?
For ongoing projects, train a LoRA model with various expressions to always have the right option available.
Dealing with Angle Differences
Significant angle differences are the hardest to overcome. The AI must essentially "rotate" the face, which requires inventing detail that didn't exist in the source.
Best practices:
- Keep angle differences under 30 degrees when possible
- For extreme angles, use a source image that matches
- Accept that some target images may not work well with any source
Hair and Boundary Management
Where hair meets face is often problematic. The AI must decide where face ends and hair begins—and different hairstyles make this challenging.
Tips:
- Source images with pulled-back hair give cleaner boundaries
- Target images with loose hair covering the face may cause artifacts
- Post-processing with image editing can clean up edge issues
Skin Tone Matching
While AI handles most color matching automatically, extreme skin tone differences may require adjustment:
- Some tools offer skin tone matching options
- Post-processing can adjust color balance
- Similar skin tones in source and target minimize issues
Video Face Swap Capabilities
Face swap isn't limited to still images. Video face swap opens up dynamic content possibilities.
How Video Face Swap Differs
Video face swap applies the same technology frame by frame, with additional considerations:
- Temporal consistency: The swap must look consistent across frames
- Motion handling: The face must track natural movement
- Performance: Real-time or near-real-time processing for practical use
Best Practices for Video
Start with stable footage: Shaky video makes face detection harder. If possible, use tripod footage or stabilized content.
Consistent lighting throughout: Lighting changes mid-video require the AI to continuously readjust, potentially causing flicker.
Clear, front-facing subjects: Profile shots and extreme angles are even more challenging in video due to frame-to-frame variations.
Short clips first: Test with short clips before processing longer videos. This saves time and credits if adjustments are needed.
Video-Specific Challenges
- Fast motion blur: Blurred frames may cause swap failures
- Multiple faces: Processing time increases with more faces
- Occlusion: Objects passing in front of faces cause temporary issues
- Extreme angles: More problematic in video than stills
Creative Applications
Beyond basic face replacement, face swap enables creative use cases:
Consistent Character Content
For AI influencers, face swap lets you place your character in any scenario:
- Stock photos and licensed images become character content
- Historical photos can feature your character
- Product placement becomes effortless
A/B Testing for Marketing
Create multiple versions of marketing content with different faces to test audience response without reshooting.
Privacy Protection
Replace faces in content to protect identity while maintaining visual impact.
Historical and Educational Content
Visualize historical figures in modern contexts or create educational materials with consistent fictional personas.
Troubleshooting Common Issues
Even with perfect technique, issues occur. Here's how to resolve them:
Blurry Face Results
Cause: Low-resolution source image or excessive angle correction
Solution: Use higher resolution sources; choose sources with matching angles
Visible Edges
Cause: Strong lighting differences between source and target
Solution: Match lighting direction; use softer-lit source images; post-process edges
Wrong Expression
Cause: Expression mismatch creating cognitive dissonance
Solution: Choose source images with matching expressions; build an expression library
Skin Tone Mismatch
Cause: Significant color differences between source and target
Solution: Use color-corrected sources; post-process color balance
Detection Failures
Cause: Face not clearly visible or at extreme angle
Solution: Use clearer source images; crop to emphasize face; try different angles
Combining with Other Tools
Face swap works best as part of a larger workflow:
With LoRA Training
Train a LoRA model of your character, then generate source images in any expression or angle needed. This gives you a limitless library of perfectly consistent source faces.
With Upscaling
After face swap, upscale your results for higher resolution output. This is especially useful when your target image is low resolution.
With Image Editing
Use the image editor to:
- Clean up any edge artifacts
- Adjust lighting and color
- Composite multiple elements
- Add finishing touches
With Video Generation
Combine static face swaps with video generation to create dynamic content from still images.
Key Takeaways
- Source image quality determines result quality: High resolution, clear faces, matching angles
- Lighting direction must match between source and target for natural results
- Expression matching prevents cognitive dissonance even in technically perfect swaps
- Building a source library with various angles and expressions ensures you always have the right option
- Video face swap requires stable footage and consistent lighting
- Combine with other tools like LoRA training, upscaling, and editing for best results
Start Creating
Face swap technology has made what was once professional-only capability accessible to everyone. With the right source images and attention to matching conditions, you can create seamless face swaps that look entirely natural.
Ready to try it yourself? Access Face Swap and experiment with your first swap. Start with well-matched images to see the technology's potential, then work up to more challenging scenarios as you learn what works.
For ongoing AI character projects, combine face swap with LoRA training for maximum flexibility and consistency.
Related Reading: