LoRA Training for Beginners: Create Your First AI Model
Learn how to train your first LoRA model from scratch. Step-by-step guide covering image preparation, training settings, and generating consistent AI characters.
LoRA Training for Beginners: Create Your First AI Model
You've seen those impossibly consistent AI-generated characters—the same face in a thousand different scenarios, wearing different outfits, in different locations, with perfect consistency every single time. The secret? LoRA training.
If you've ever tried generating AI images and been frustrated that each result looks like a completely different person, this guide is for you. By the end, you'll understand exactly what LoRA is, how it works, and—most importantly—how to train your own model to create perfectly consistent AI characters.
No prior machine learning experience required. Let's dive in.
What is LoRA?
LoRA stands for Low-Rank Adaptation—but don't let the technical name intimidate you. In practical terms, LoRA is a technique that lets you teach an existing AI image model to recognize and reproduce a specific subject, whether that's a person, a style, an object, or a concept.
Think of it like this: a base AI model like Flux knows how to generate millions of different faces. But it doesn't know YOUR specific character. LoRA training essentially creates a small "add-on" that teaches the model exactly what your character looks like.
Why LoRA Changed Everything
Before LoRA, creating consistent AI characters required either:
- Full model fine-tuning: Expensive, time-consuming, and requiring serious hardware
- Textual inversion: Limited results and poor consistency
- Manual prompt engineering: Hoping you could describe a face consistently enough (spoiler: you can't)
LoRA solved all of this. It's fast (minutes instead of hours), lightweight (megabytes instead of gigabytes), and produces excellent consistency. For AI influencer creation and character-based content, it's become the essential tool.
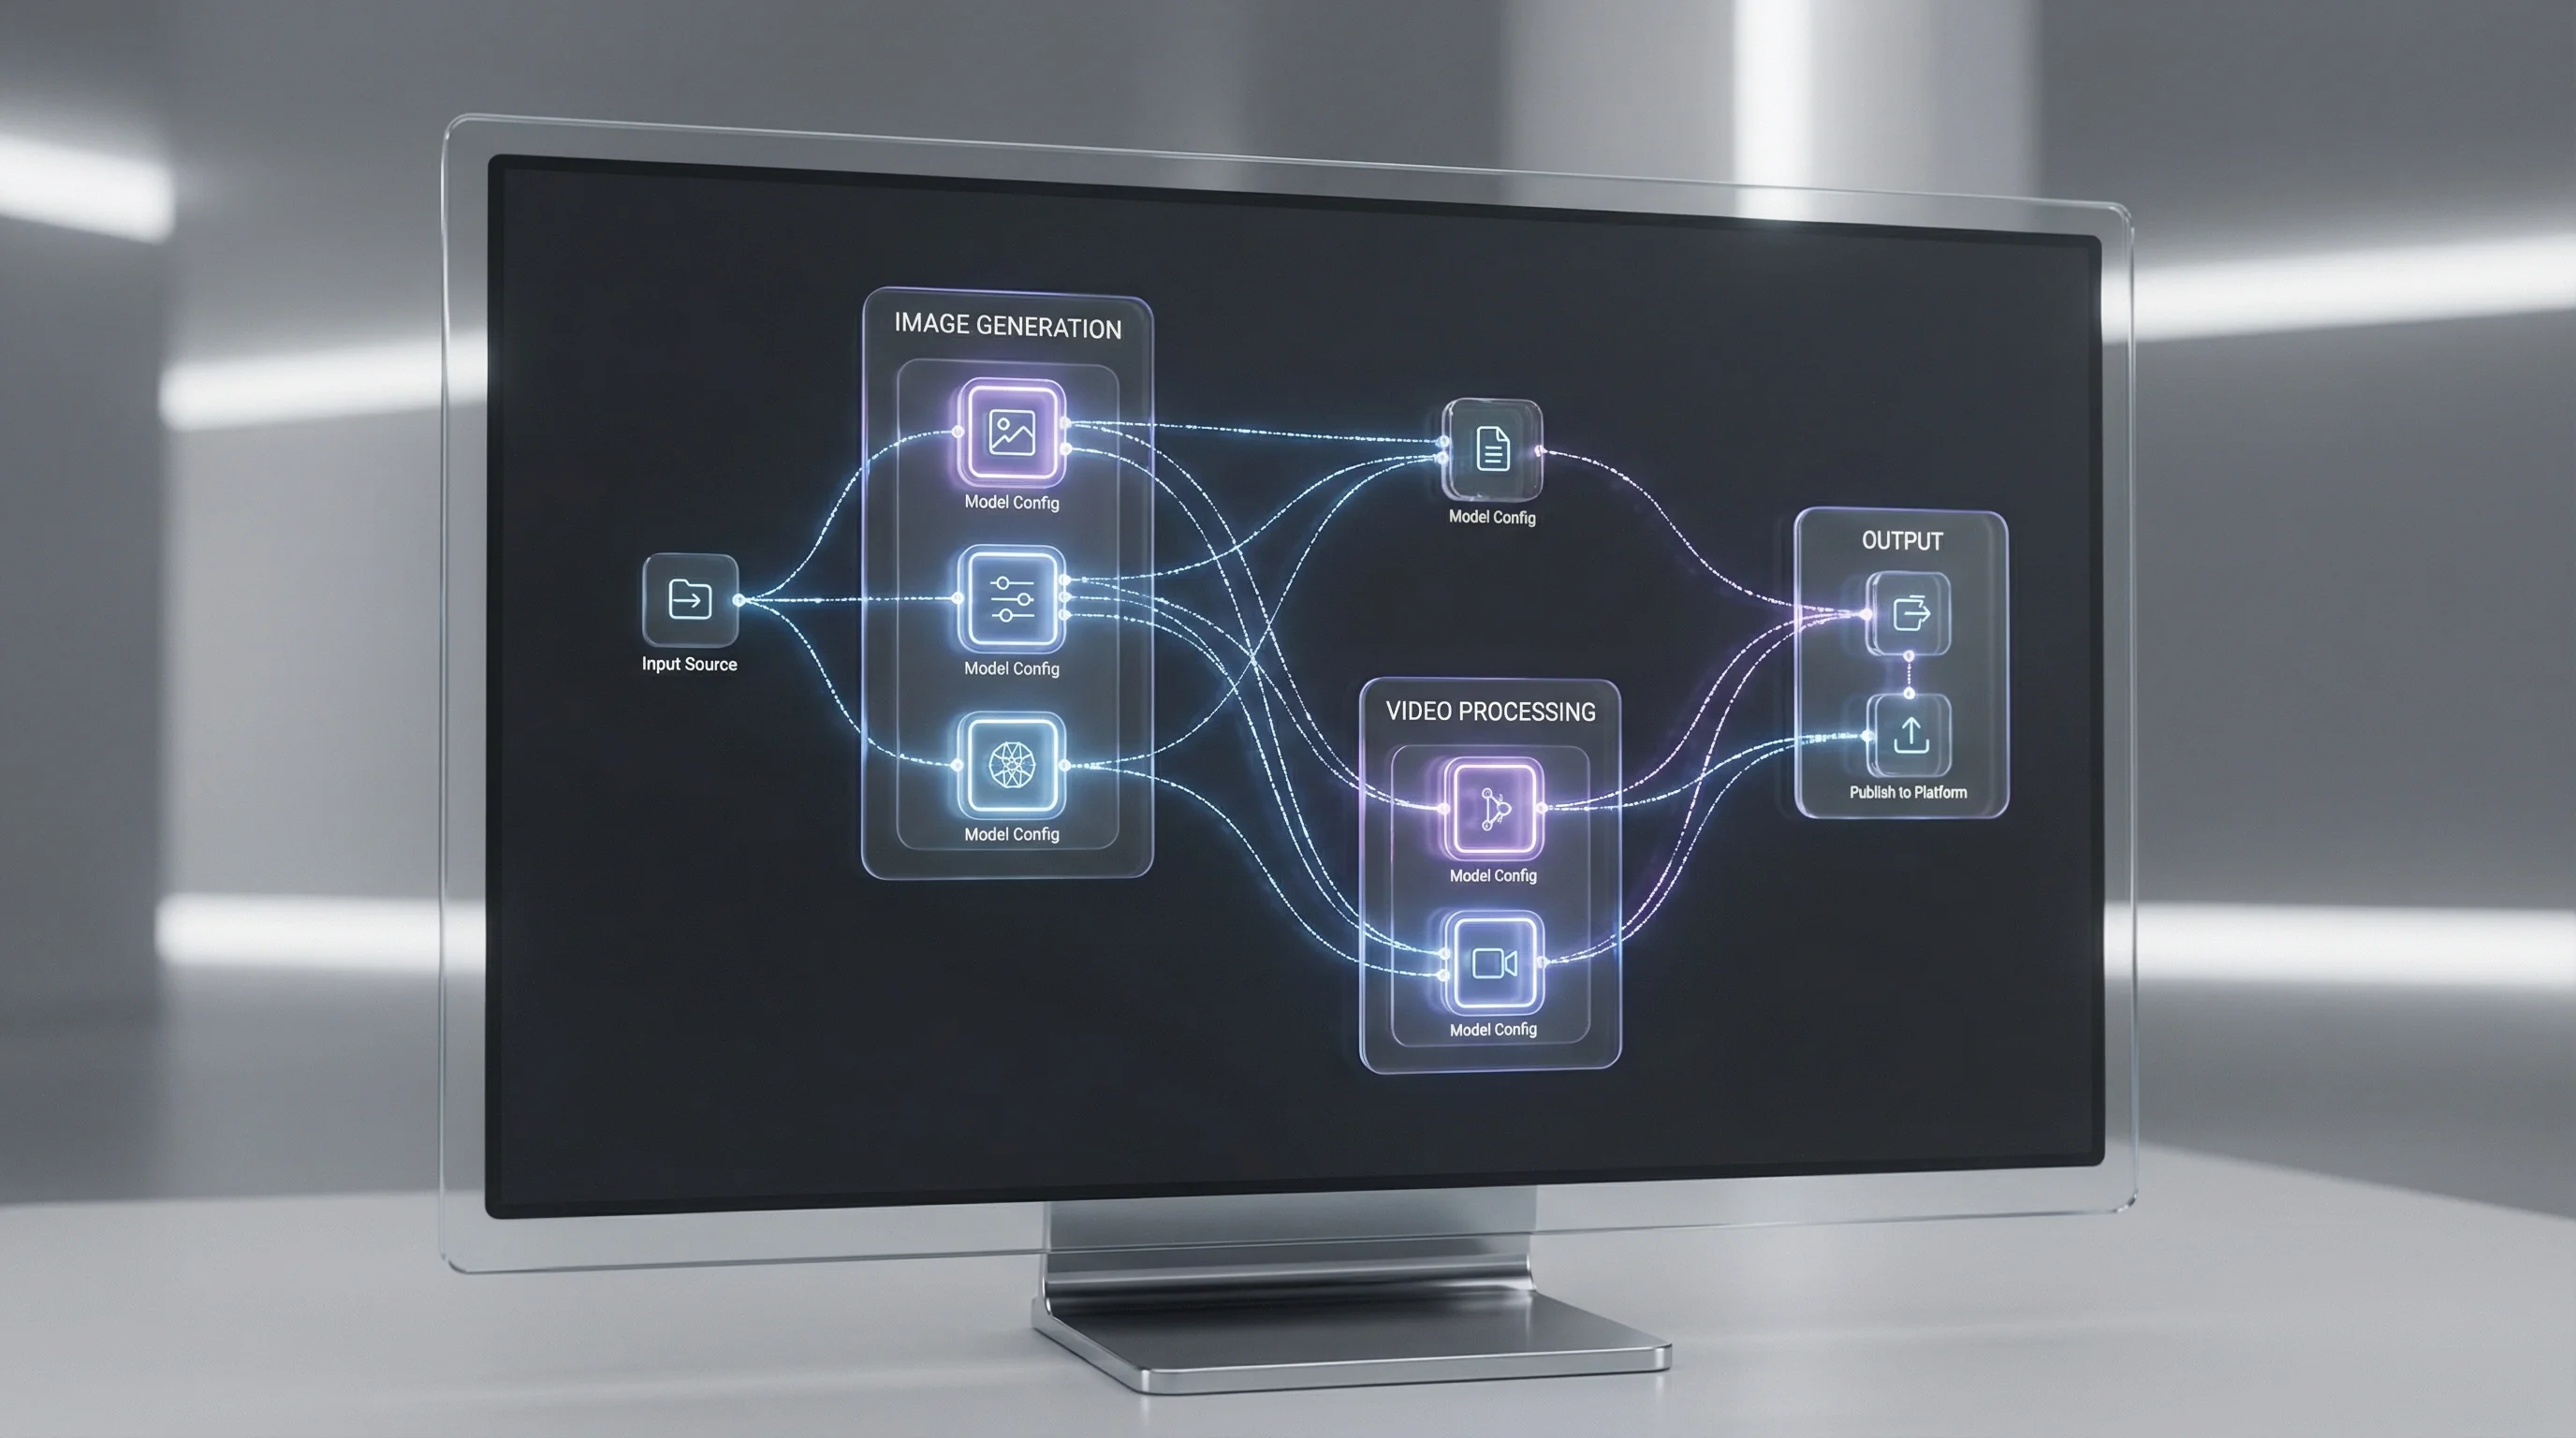
How LoRA Actually Works
Without getting too deep into the math, here's the simple version:
- You provide training images of your subject
- The LoRA training process analyzes these images and identifies the key features
- It creates a small file (the LoRA) that contains only the "delta"—the difference between the base model and your subject
- When generating, this delta is applied to the base model, producing images that match your training subject
The beauty is efficiency. Instead of modifying billions of parameters in the base model, LoRA only adjusts a small subset—typically less than 1% of the original model's size.
Preparing Your Training Images
The quality of your LoRA depends entirely on your training images. This is where most beginners fail—not in the training itself, but in image preparation.
The Magic Number: 10-50 Images
You don't need hundreds of images. In fact, too many images can actually hurt your results by introducing unwanted variations. The sweet spot is:
- Minimum: 10 images (for basic consistency)
- Recommended: 20-30 images (for high-quality results)
- Maximum: 50 images (beyond this, diminishing returns)
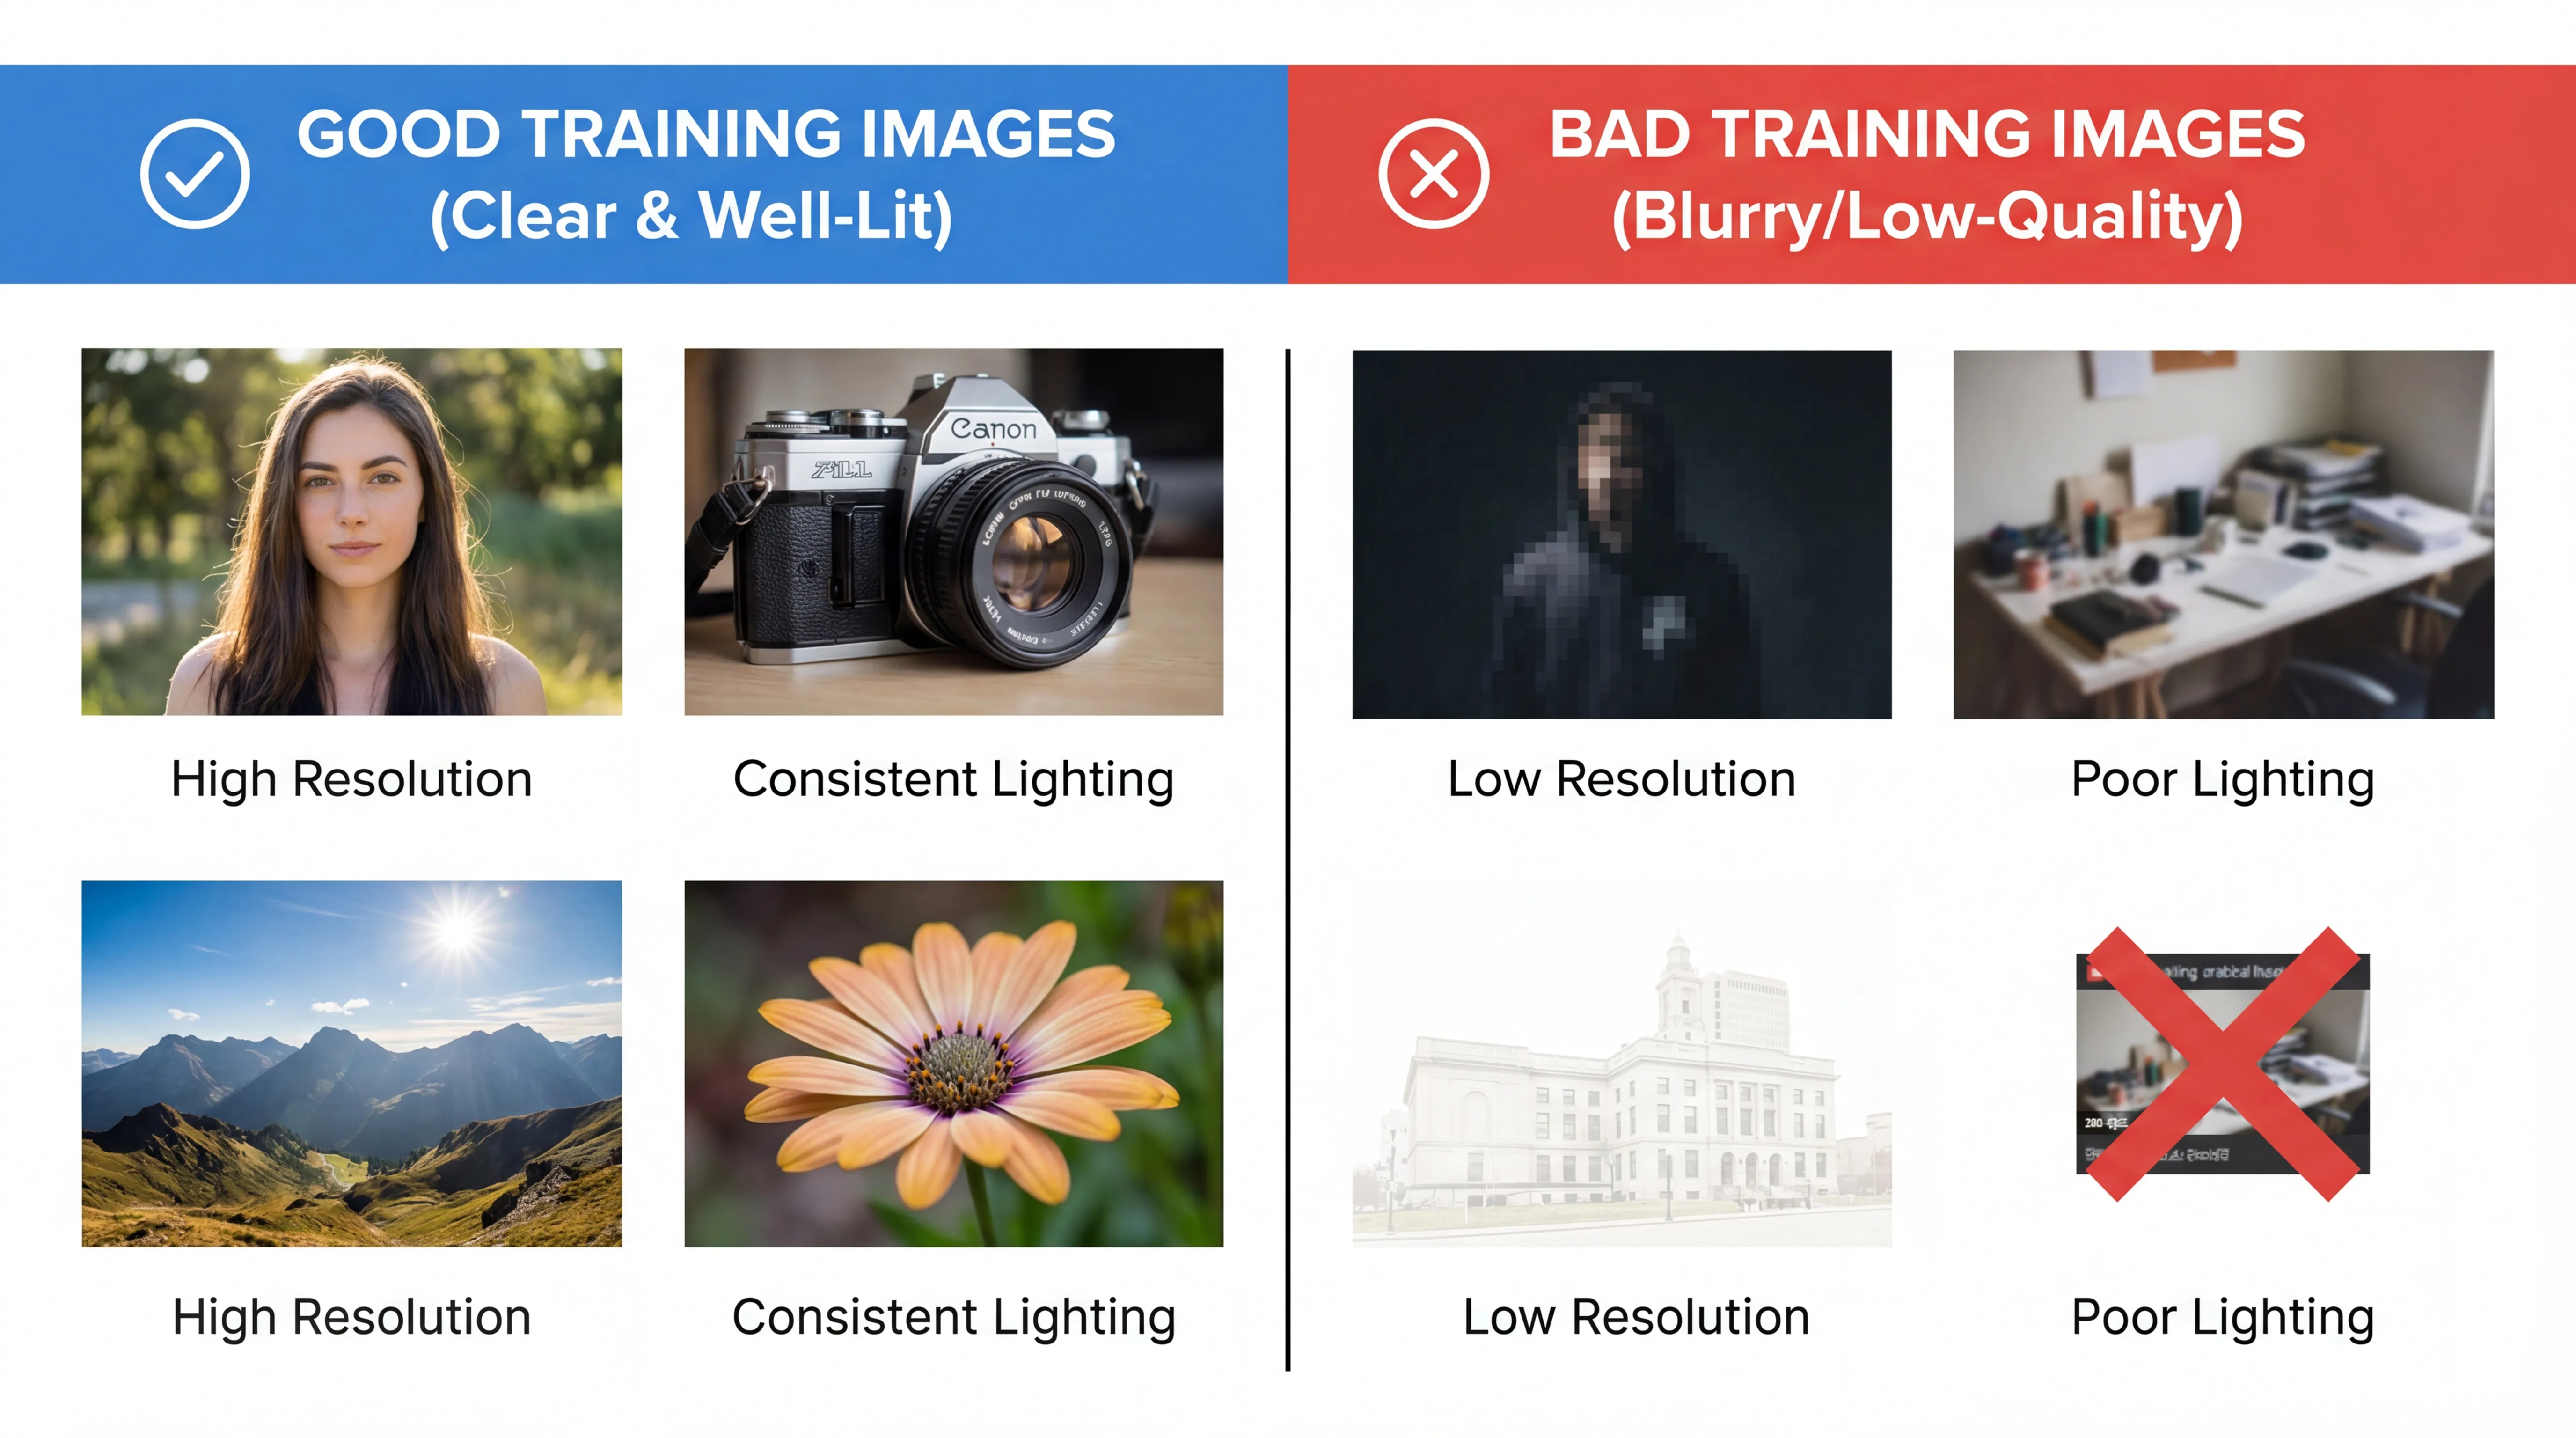
Image Requirements
Every training image should meet these criteria:
Resolution: At least 512x512 pixels. Higher is better—1024x1024 is ideal. Low-resolution images produce blurry, inconsistent results.
Quality: Sharp, well-lit photos without blur or noise. Avoid heavily filtered or compressed images.
Subject Focus: Your subject should be clearly visible and the main focus. Avoid images where they're partially obscured or in the background.
Consistency: All images should show the same person/character. This seems obvious, but mixing in different subjects will confuse the training.
Diversity Within Consistency
Here's the nuanced part: while your subject should be consistent, you want diversity in everything else:
- Different angles: Front-facing, profile, three-quarter views
- Different expressions: Smiling, serious, neutral, laughing
- Different lighting: Natural light, studio light, various times of day
- Different backgrounds: Indoor, outdoor, plain, complex
- Different outfits: Various clothing styles (if you want outfit flexibility)
This diversity teaches the model what aspects should stay constant (the face) and what can vary (everything else).
For AI-Generated Characters
If you're training a LoRA for an AI-generated character (rather than a real person), you'll first need to create consistent reference images using the base AI image generator.
The process:
- Generate multiple images with a detailed character prompt
- Manually curate the most consistent-looking results
- Regenerate with seeds from your best images to get variations
- Build a set of 20-30 images that look like the same person
- Use these as your training set
It's an iterative process, but necessary for establishing your character before training.
Step-by-Step Training Process
Ready to train? Here's the complete walkthrough using Fizzly's LoRA training.
Step 1: Upload Your Images
Navigate to the LoRA training section and upload your prepared images. The interface will show you:
- Image count and total file size
- Any images that don't meet requirements
- Preview grid of all training images
Review carefully before proceeding—you can't change images once training starts.
Step 2: Configure Your Settings
You'll see several options. Here's what each means:
Trigger Word: This is the phrase you'll use in prompts to activate your LoRA. Choose something unique that won't appear in normal prompts. Examples:
- Good: "jsmith_person", "mybrand_char1", "alexai_v1"
- Bad: "woman", "person", "character" (too common)
Training Mode:
- Turbo (1-3 minutes): Faster but slightly less refined
- Normal (3-10 minutes): Better quality, recommended for important characters
Steps: More steps generally mean better learning, but with diminishing returns. The default settings work well for most cases.
Step 3: Start Training
Click train and wait. You'll see a progress indicator showing:
- Current training step
- Estimated time remaining
- Preview images (on some platforms)
Don't navigate away—training runs on servers, but you'll want to see results immediately.
Step 4: Test Your Model
Once complete, you'll have a trained LoRA. Now test it:
- Go to the image generator
- Select your new LoRA from the model options
- Write a prompt including your trigger word
- Generate several test images
Example prompt: "jsmith_person wearing a business suit in a modern office, professional headshot, high quality"
Step 5: Evaluate and Iterate
Look at your test results critically:
- Does the face match your training images?
- Are features consistent across different prompts?
- Do extreme poses or angles maintain consistency?
If results are poor, consider:
- Adding more diverse training images
- Removing low-quality images from your set
- Training again with different settings
Common Mistakes to Avoid
After helping thousands of creators train LoRAs, certain mistakes appear repeatedly. Avoid these:
Mistake 1: Low-Quality Training Images
This is the number one cause of poor results. One blurry image can degrade your entire LoRA. Quality over quantity—10 excellent images beats 50 mediocre ones.
Mistake 2: Insufficient Diversity
If all your training images show the same angle and expression, your LoRA will only work well for that angle and expression. Include variety in everything except the subject itself.
Mistake 3: Including Different People
Even one image of a different person will confuse training. Triple-check that every image shows your intended subject.
Mistake 4: Over-Training
More isn't always better. Training for too long can cause "overfitting" where the model learns training images too literally and loses ability to generalize. Stick to recommended settings.
Mistake 5: Generic Trigger Words
If your trigger word is "woman" or "person," you'll have conflicts with normal prompt language. Always use unique identifiers.
Mistake 6: Expecting Perfection on First Try
LoRA training is iterative. Your first attempt teaches you what works and what doesn't. Plan to refine your training set and try again.
Testing Your New Model
Once trained, thorough testing ensures your LoRA performs well across use cases.
Test Different Scenarios
Generate images in various contexts:
- Portrait shots: Close-up headshots, profile views
- Full body: Standing, sitting, walking
- Different outfits: Casual, formal, athletic, creative
- Various backgrounds: Indoor, outdoor, studio, environmental
- Different lighting: Bright, moody, natural, artificial
Test Edge Cases
Push your LoRA to find its limits:
- Extreme angles (looking up, looking down)
- Actions and poses
- Different art styles (if you want style flexibility)
- Combined with other LoRAs or effects
Document What Works
Keep notes on which prompt structures produce the best results. You'll develop a personal "formula" for getting optimal outputs from your specific LoRA.
Advanced Tips for Better Results
Once you've mastered the basics, these techniques take your LoRAs to the next level.
Multi-LoRA Training
For AI influencer projects, consider training multiple LoRAs:
- Base face LoRA: Core facial features
- Expression LoRAs: Specific emotional states
- Style LoRAs: Different aesthetic treatments
Combining these gives maximum flexibility.
Resolution Matters
Training at higher resolution produces better detail capture. If your source images are high-quality, don't downsample them unnecessarily.
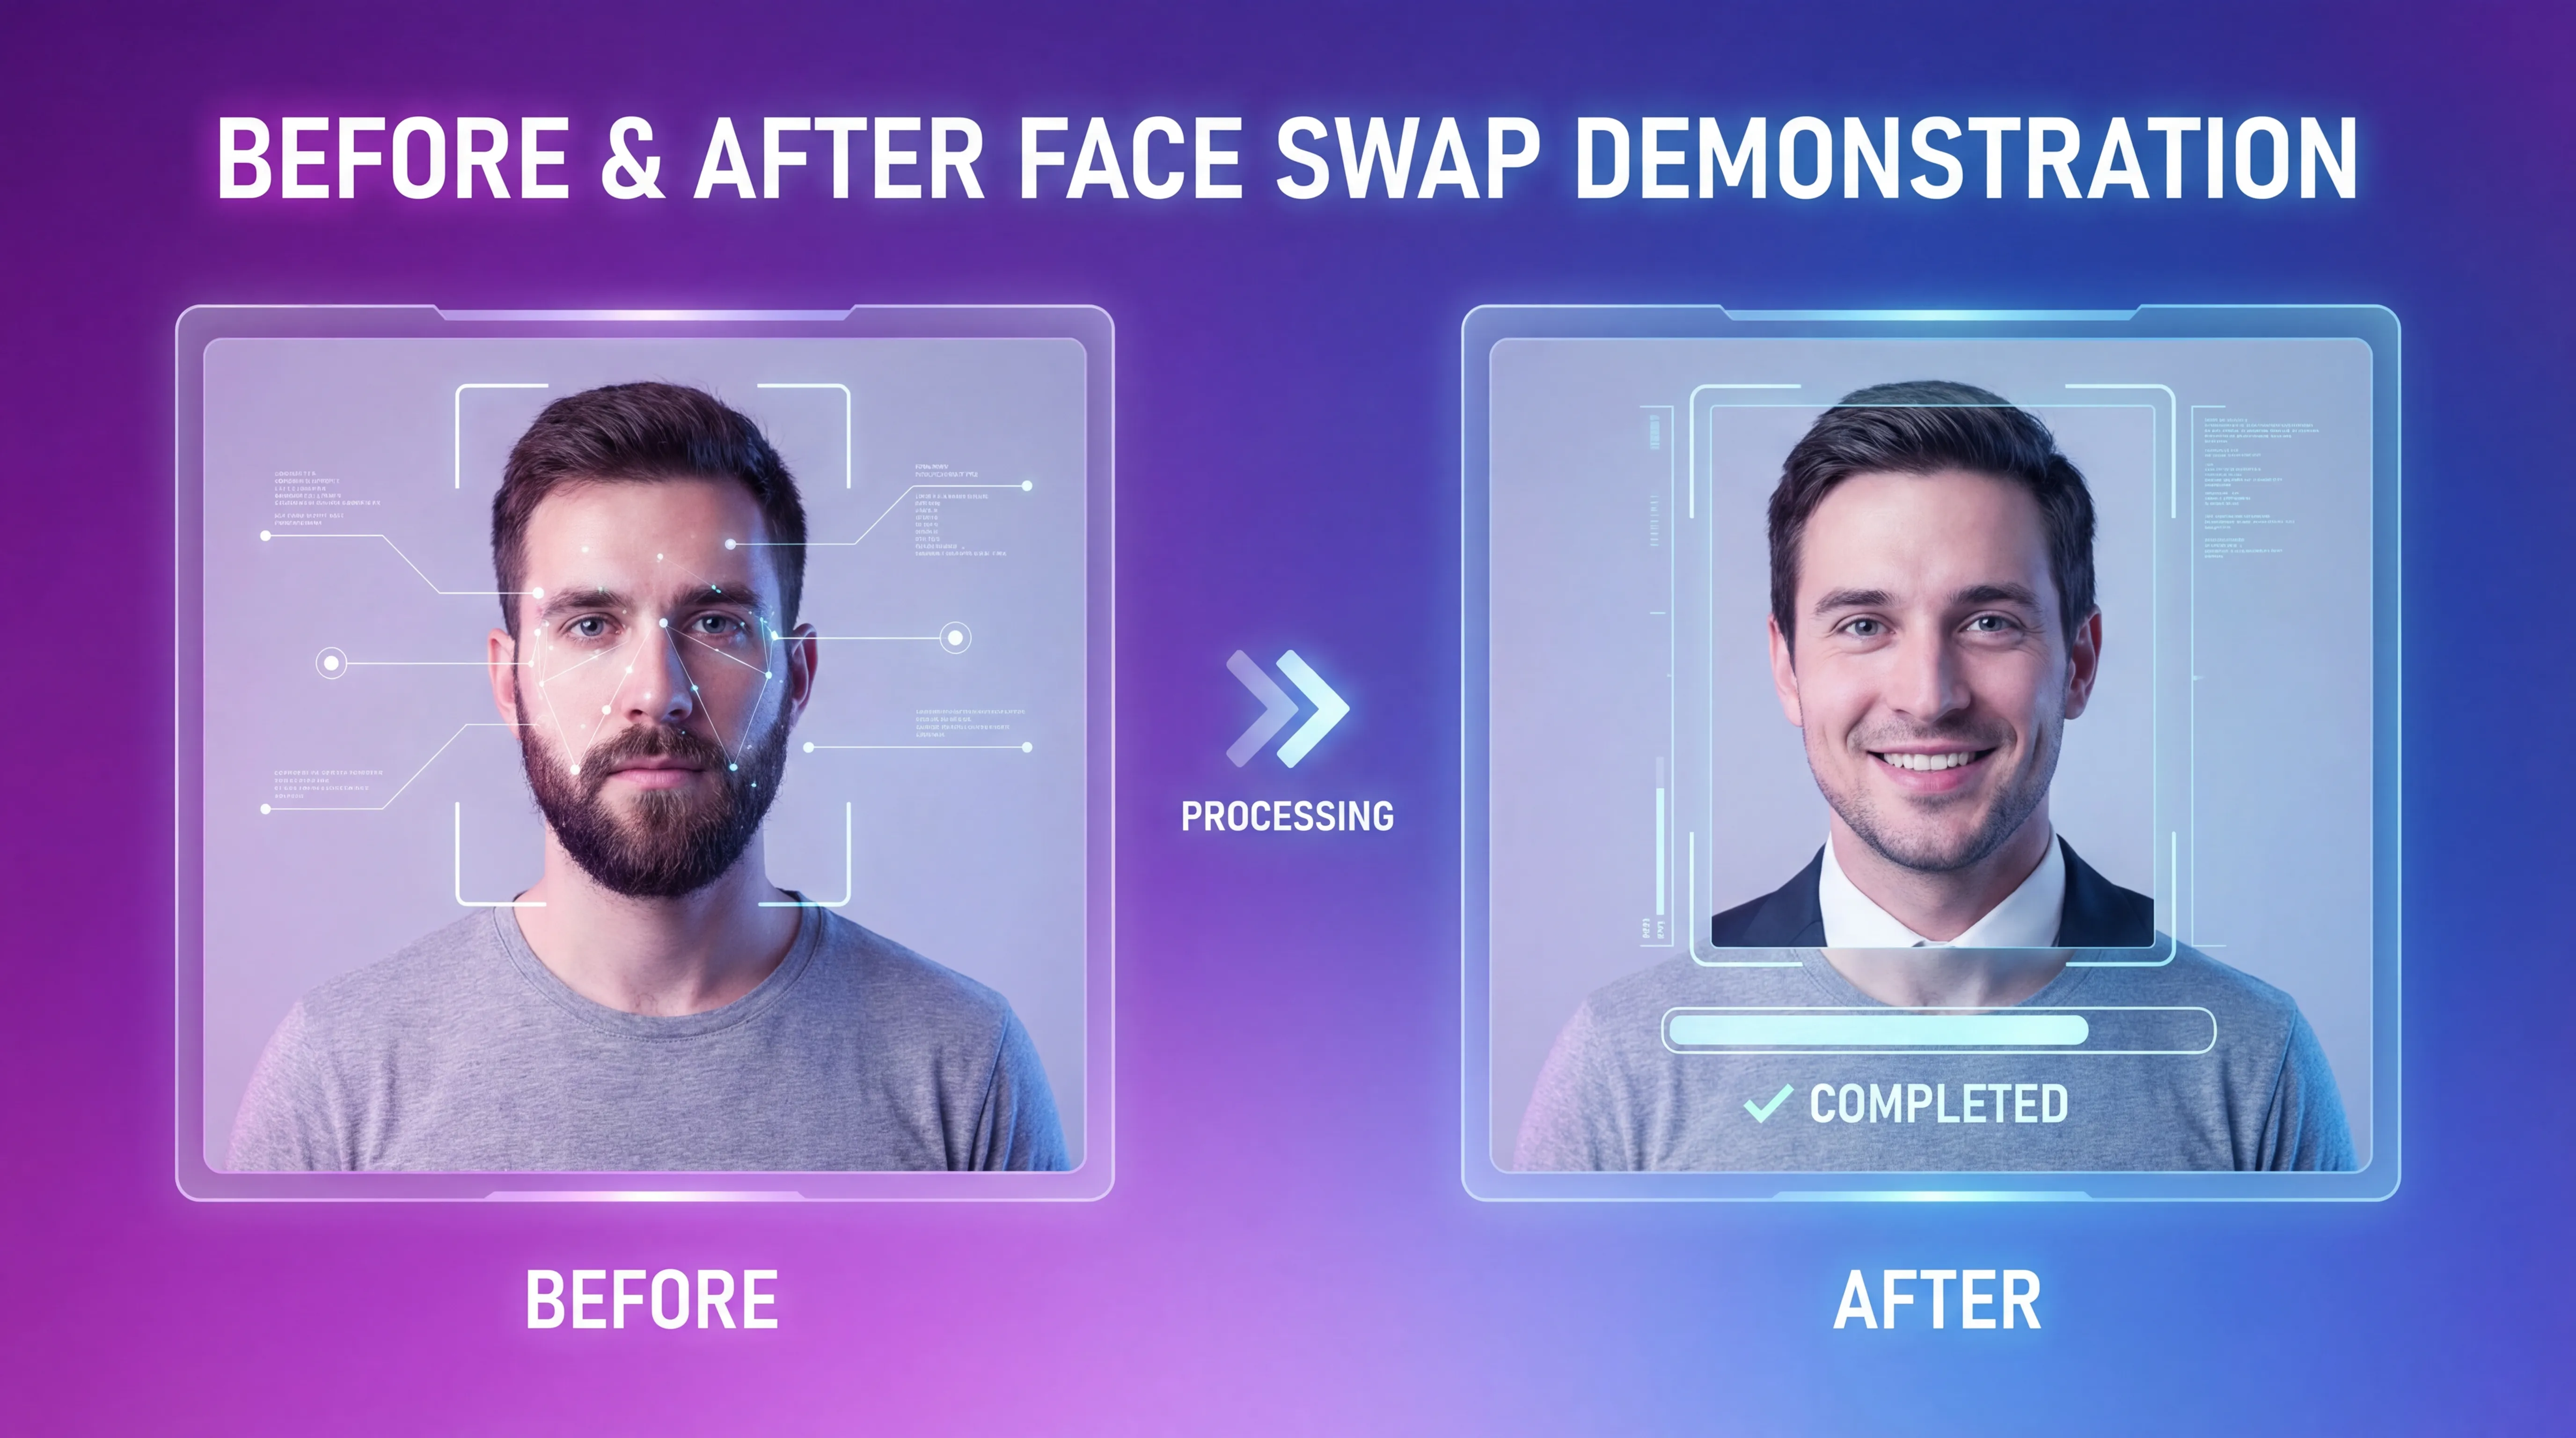
Post-Processing Pipeline
Pair your LoRA-generated images with:
- Upscaling for higher resolution output
- Face swap for specific scenario placement
- Image editing for final adjustments
Regular Updates
As you generate more content with your character, periodically update your LoRA with the best outputs. This refines consistency over time.
Key Takeaways
- LoRA enables consistent AI character generation by teaching models to recognize specific subjects
- Image quality trumps quantity: 20 excellent images beat 100 mediocre ones
- Diversity matters: Same subject, different angles/lighting/outfits
- Use unique trigger words to avoid conflicts with normal prompts
- Testing and iteration are part of the process—expect to refine
- Training is fast and accessible: Minutes, not hours or days
Your Next Steps
Ready to create your first LoRA? Here's your action plan:
- Prepare your images: Gather or generate 20-30 high-quality reference images
- Train your model: Use Fizzly's LoRA training with recommended settings
- Test thoroughly: Generate various scenarios to verify consistency
- Refine as needed: Update training images and retrain if results aren't perfect
- Create content: Start generating images for your AI influencer or project
The learning curve is gentle, and the results are powerful. Within an hour, you can go from zero to having a fully-trained LoRA producing consistent character images on demand.
Start your first LoRA training now and see how easy consistent AI character creation can be.
Related Reading: