Fizzly Workflows: Build AI Automations Without Code
Chain AI tools together on a visual canvas. Create your first image-to-video pipeline in minutes with our node-based workflow builder.
Fizzly Workflows: Build AI Automations Without Code
Chain AI tools together on a visual canvas
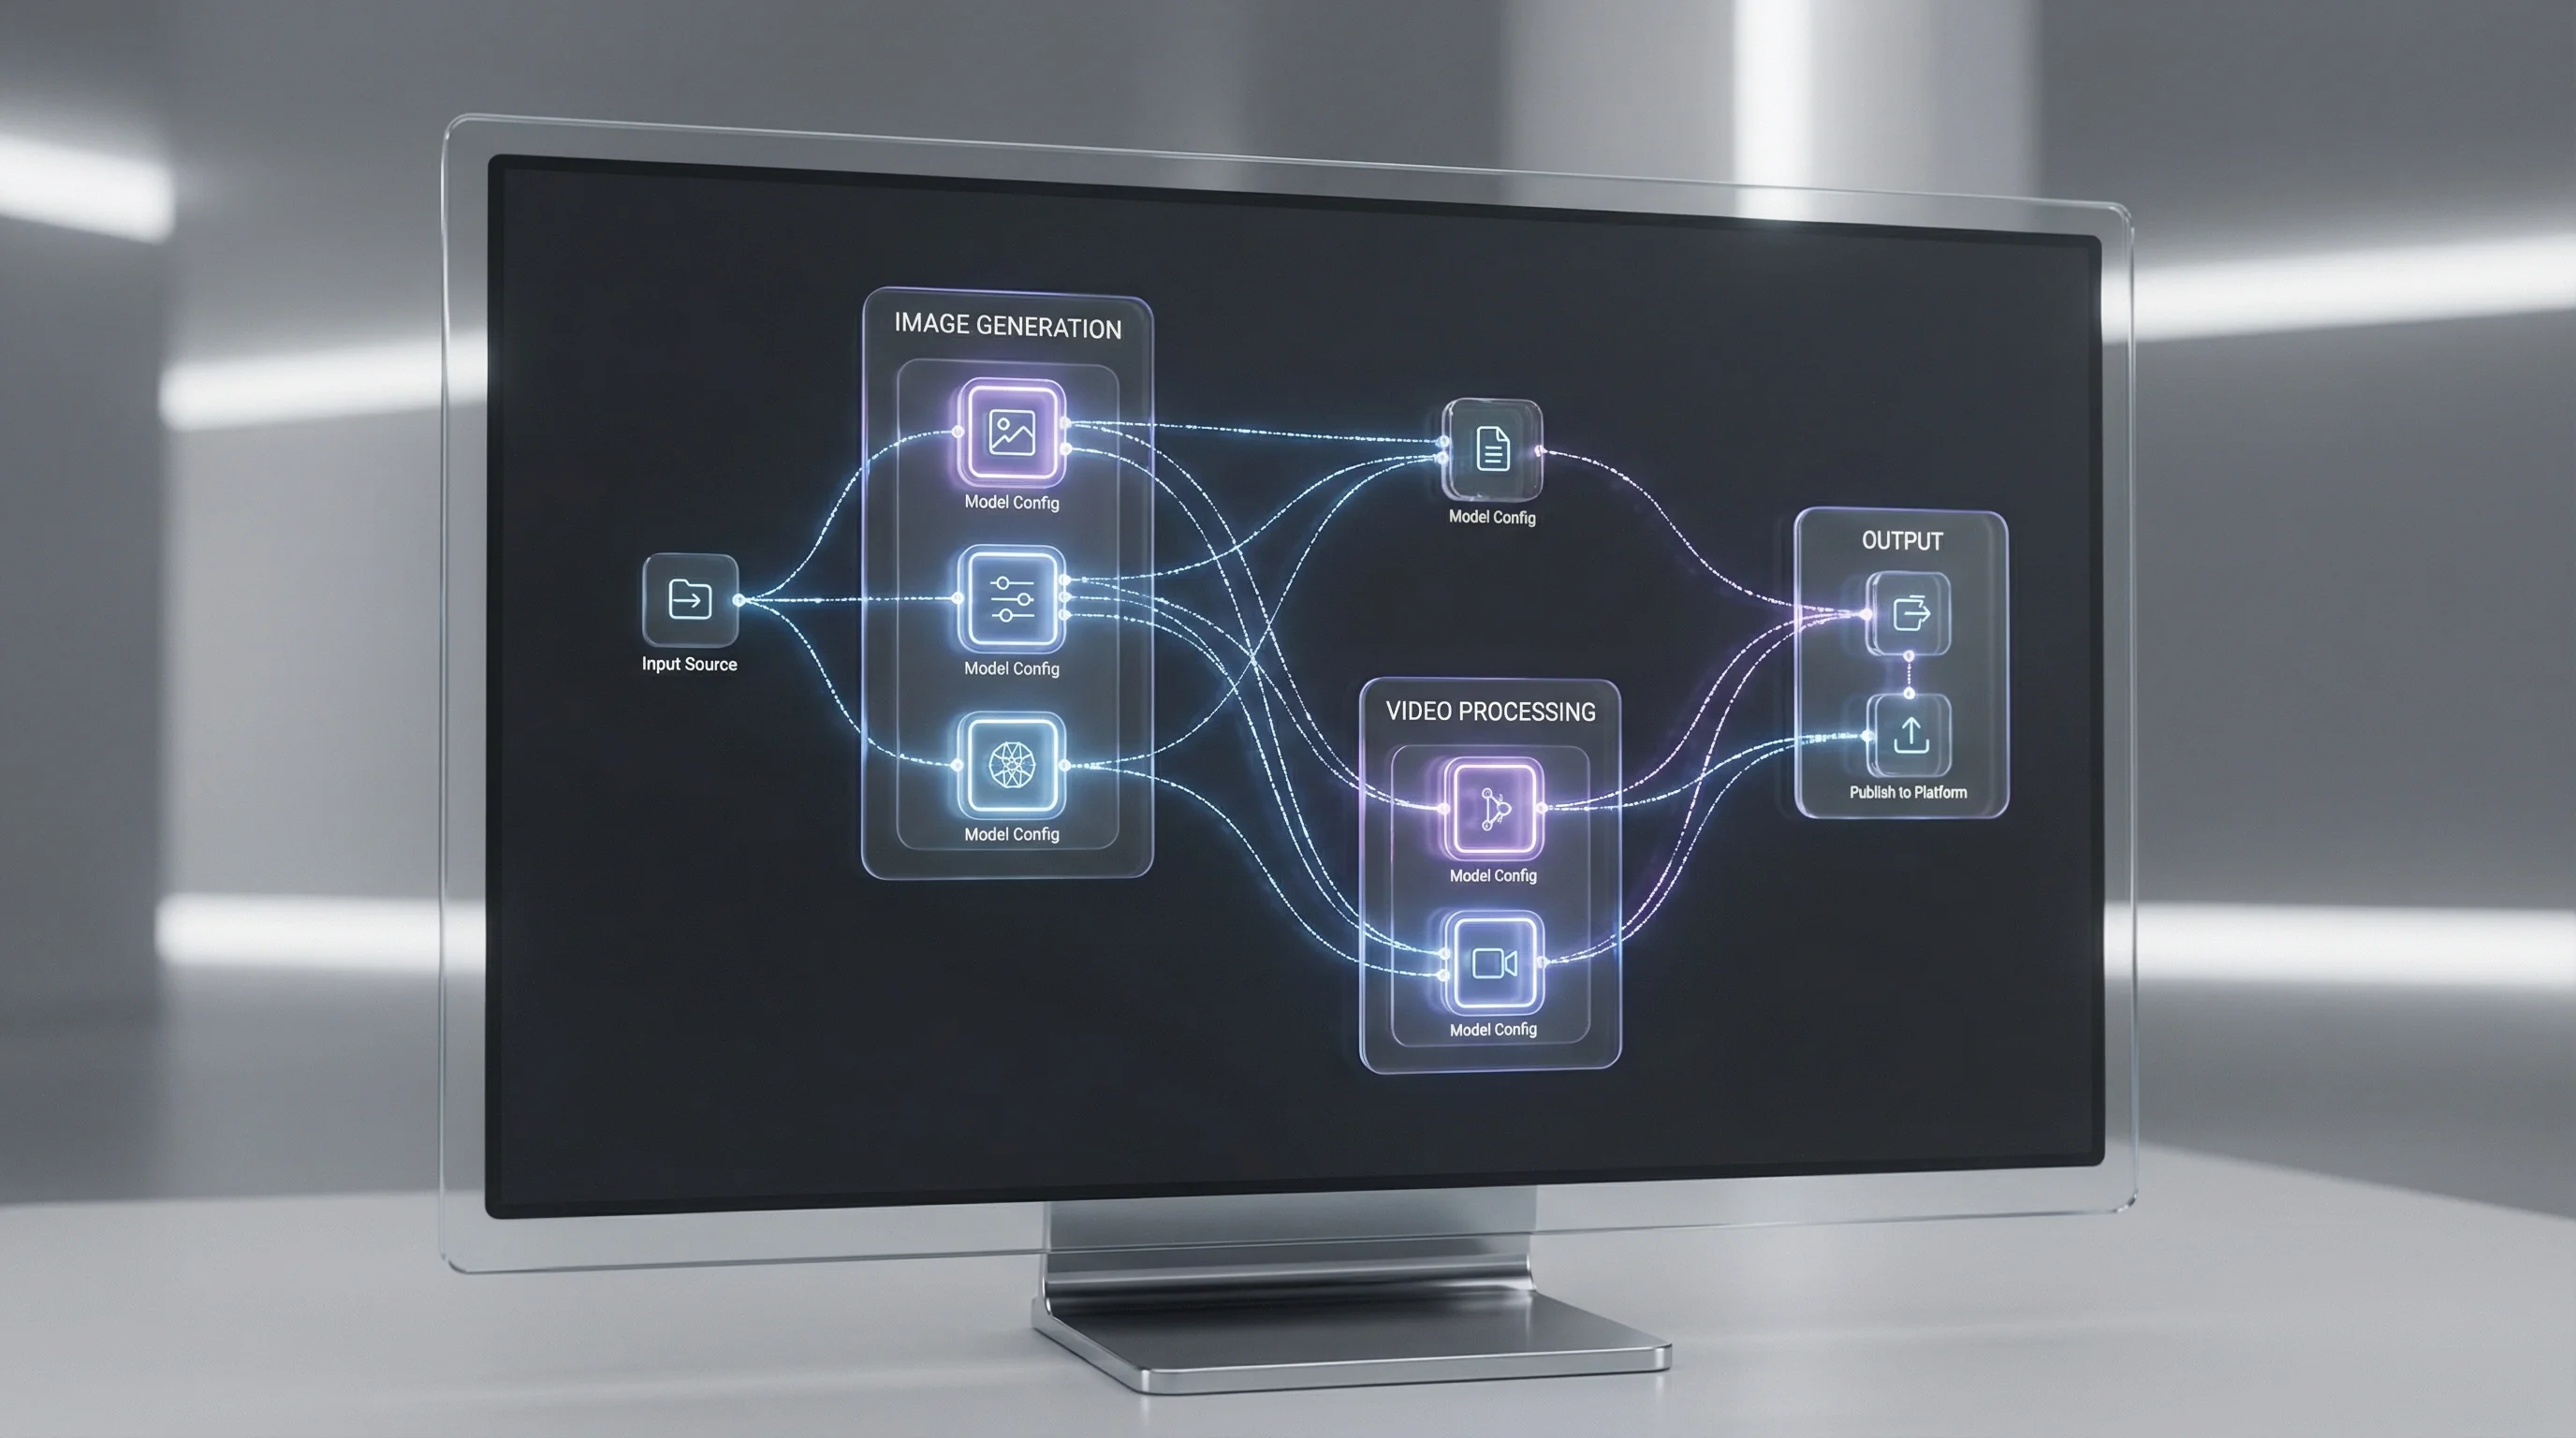
Node-based workflows let you chain different AI models together to create complex content pipelines. Instead of running tools one at a time—generating an image, downloading it, uploading to another tool, processing again—you build visual workflows where each step connects to the next.
Fizzly Workflows puts image generation, video generation, upscaling, and utility tools on an infinite canvas. The interface exposes advanced controls without overwhelming new users. Model selection, aspect ratios, quality settings—everything works through simple node connections that you can see and understand at a glance.
What You Can Build
The real power comes from combining tools. A single workflow can generate an image, upscale it, animate it into video, and deliver the result to your Discord server—all from one click.
Key capabilities:
- Generate images with Flux, Nano Banana Pro, Seedream 4.5, or GPT-Image 1.5
- Animate images into videos with Kling 2.1, Kling 2.6 Pro, or WAN 2.6
- Upscale for higher resolution output
- Apply free utility transforms like blur, crop, and color adjustments
- Send results directly to Discord, Telegram, or custom webhooks
- Expose any workflow as a REST API for integration into external apps
What sets Fizzly apart from other workflow tools is the free utility layer. Blur, crop, brightness adjustments, color grading—these operations cost nothing. Build complex post-processing chains without watching your credits drain on basic image manipulation.
The interface doesn't hide features from you. Everything is available when you need it, but organized so beginners aren't overwhelmed. You see previews at each step, so you know exactly what's happening to your content as it flows through the pipeline.
Building Your First Workflow: Image to Video
Let's build a pipeline that generates an image and animates it into a video. This takes about two minutes and demonstrates the core concepts you'll use in every workflow.
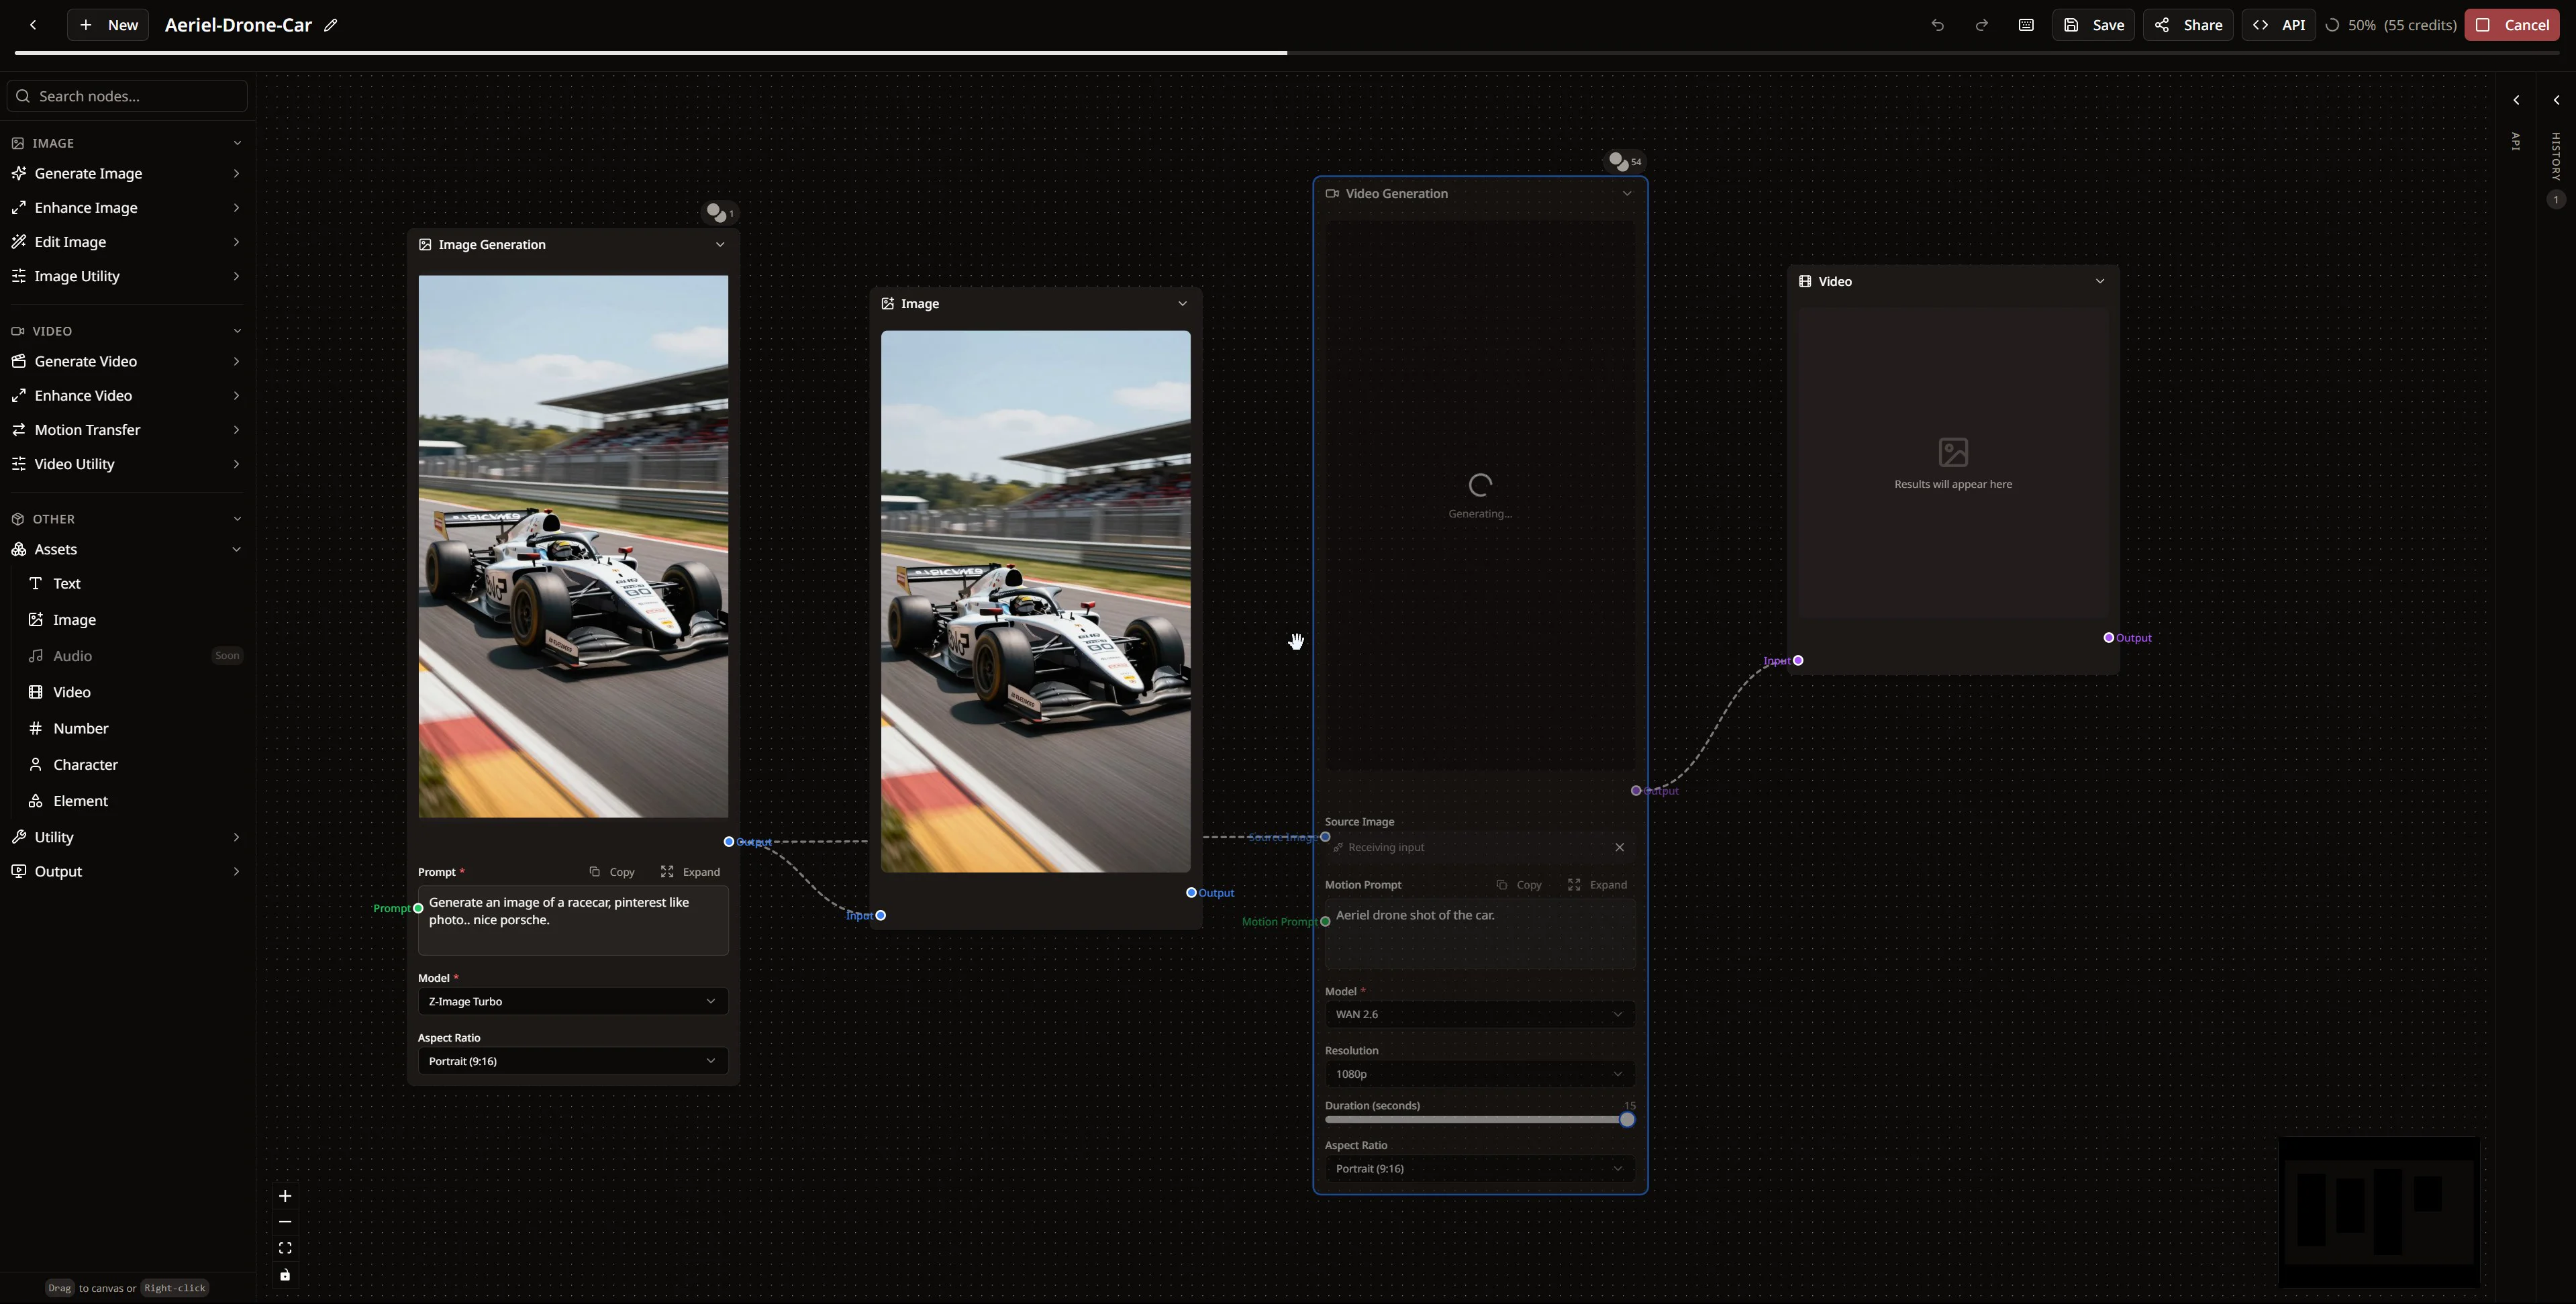
Step 1: Create a New Workflow
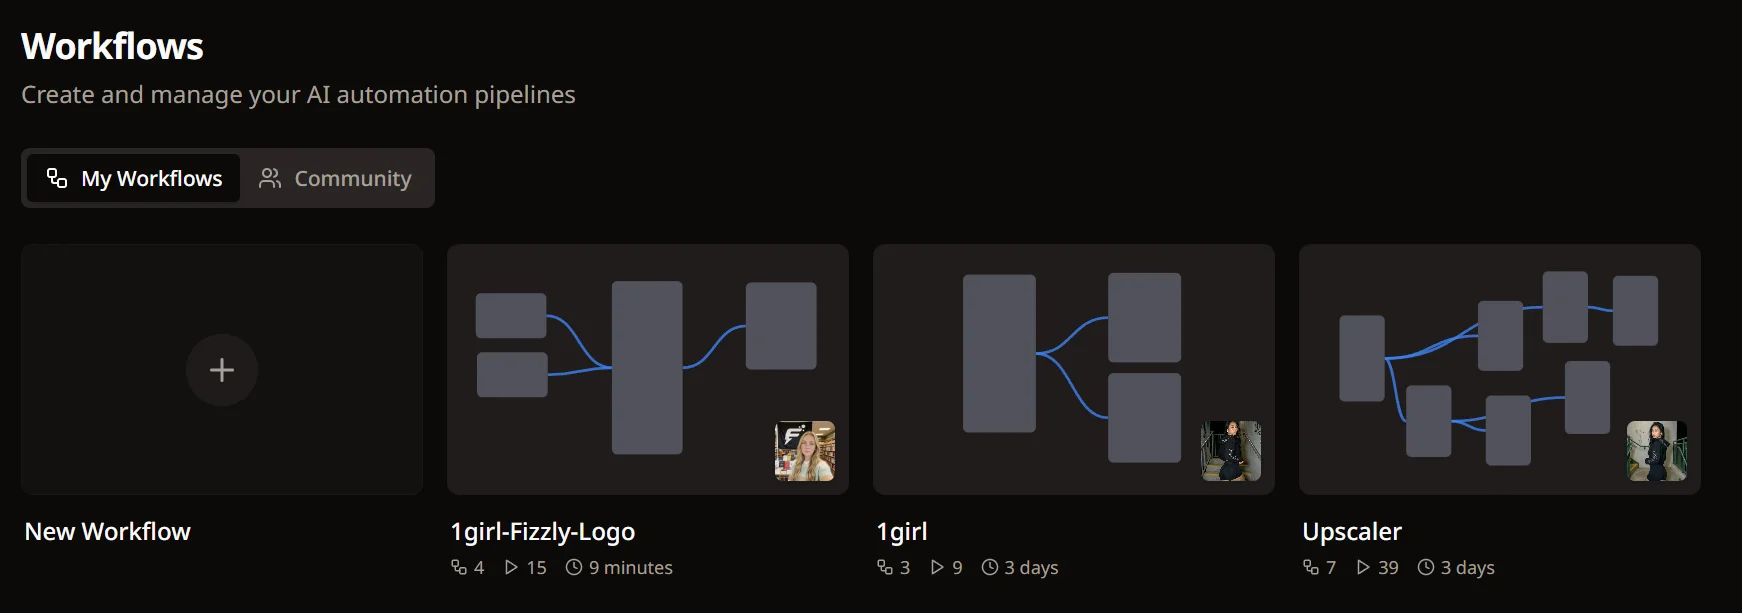
Head to /workflows and click New Workflow. You'll land on an empty canvas with a node menu in the left sidebar, organized by category: Image, Video, Assets, Utility, and Output.
The canvas is infinite—pan around and zoom as your workflows grow. For now, we're building a simple four-node pipeline.
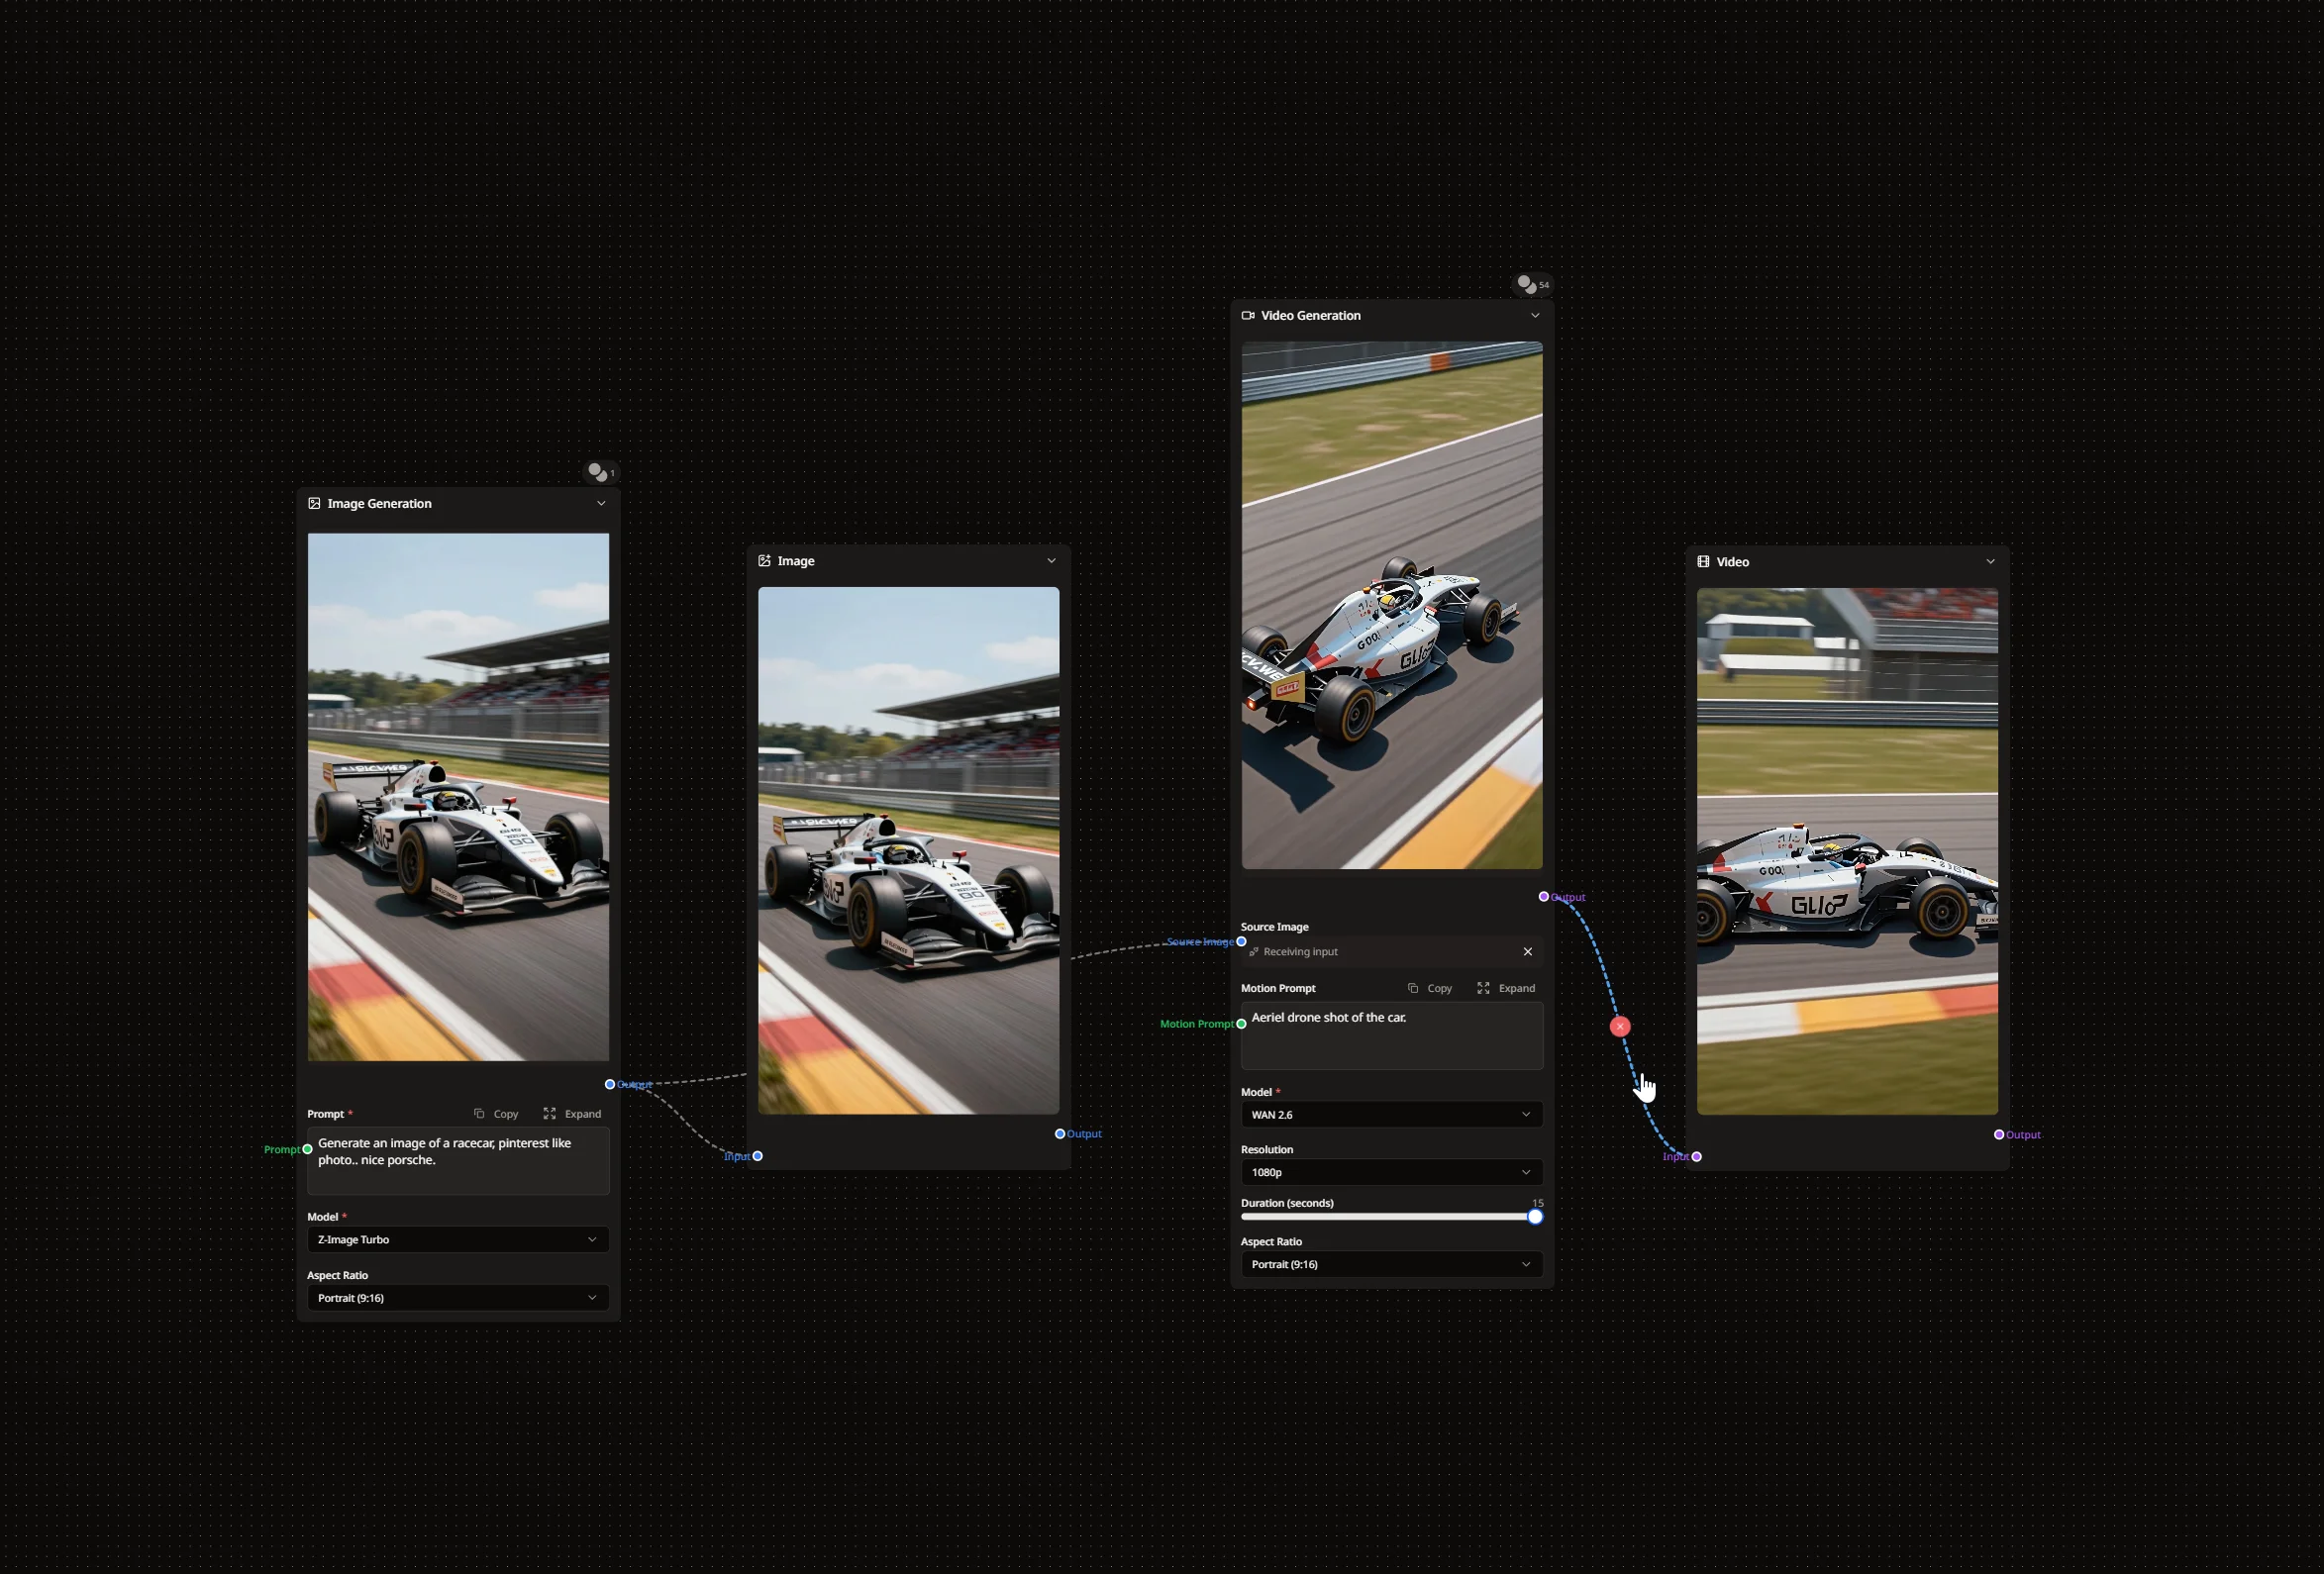
Step 2: Add an Image Generation Node
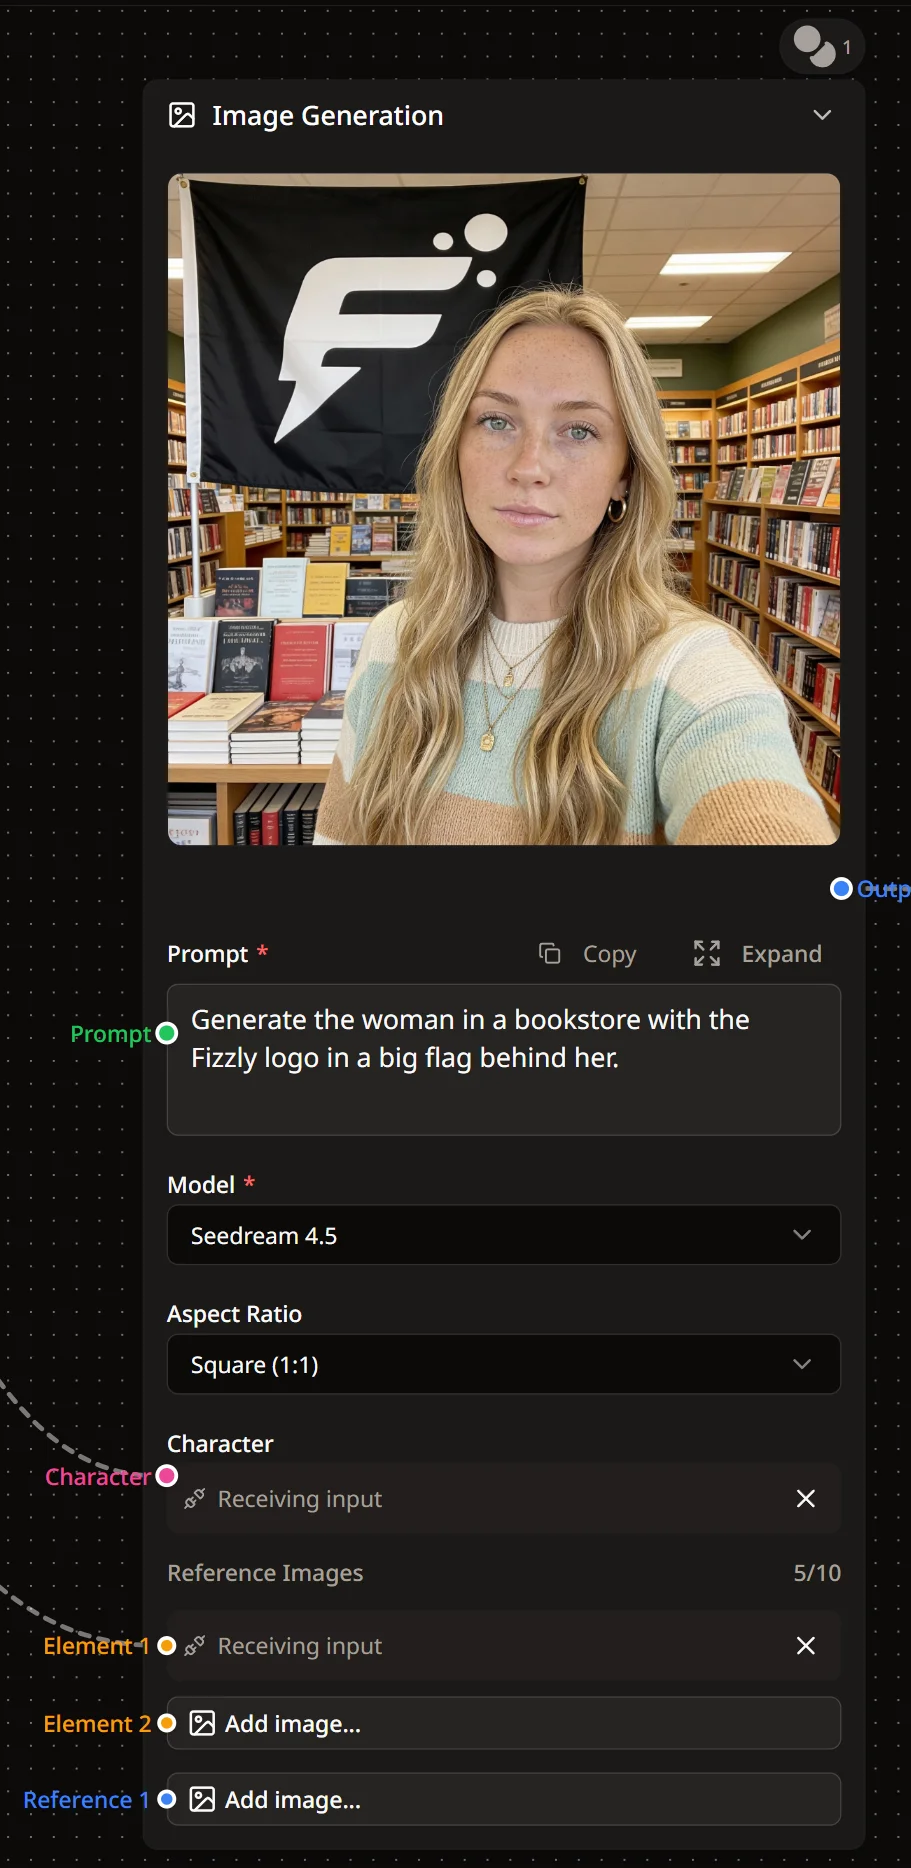
Click Generate Image in the sidebar or right-click the canvas and navigate to Image → Generate Image.
A node appears with fields for prompt, model, aspect ratio, and more. Type your prompt—something like "a racecar on a track, pinterest style photo, nice porsche". Select your preferred model (Seedream 4.5 produces stunning results).
The colored circles on the node edges are handles. Output handles (right side) connect to input handles (left side) on other nodes. This is how data flows through your workflow.
Step 3: Build the Full Pipeline
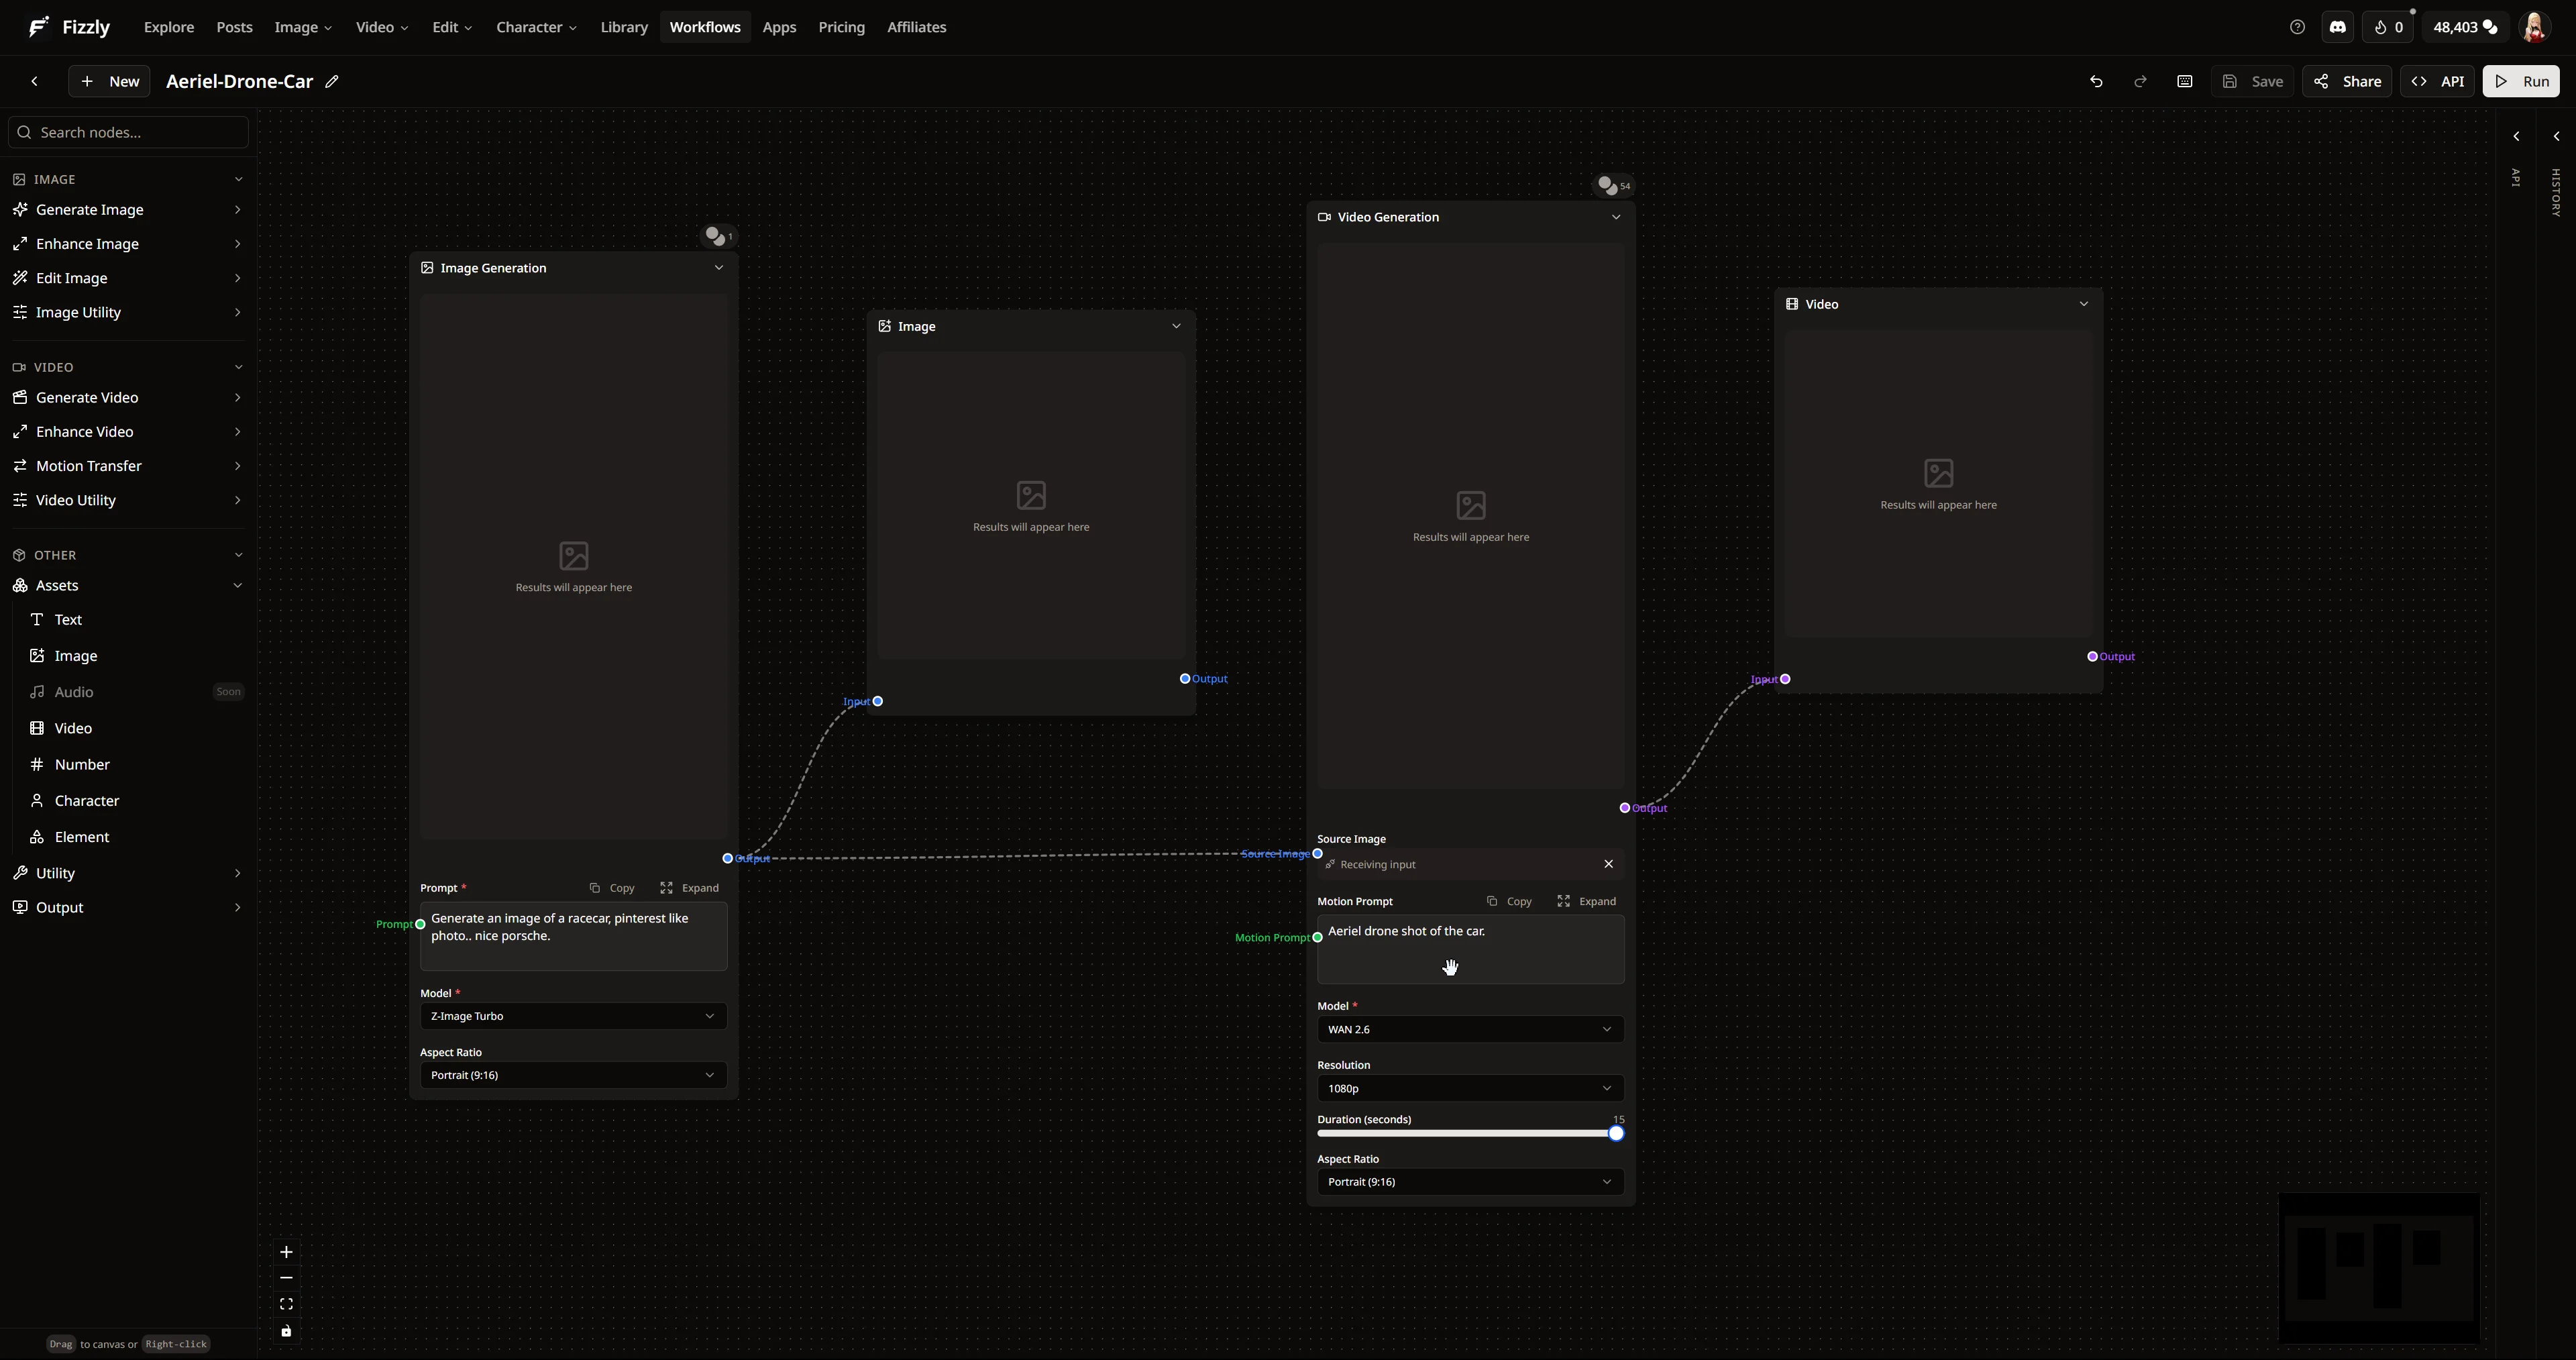
Now add the remaining nodes to complete your pipeline:
-
Image node (Assets → Image) — Displays the generated image as it flows through. Connect the Image Generation output to this node's input.
-
Video Generation node (Video → Generate Video) — Animates your image. Connect the Image node's output to the Source Image input. Add a motion prompt like "Aerial drone shot of the car" and choose your model (WAN 2.6 offers excellent quality).
-
Video node (Assets → Video) — Displays your final result. Connect the Video Generation output here.
The colored handles help you understand what connects where—image outputs connect to image inputs, video to video.
Step 4: Run Your Workflow

Click Run in the top toolbar. The credit cost displays before execution starts, so there are no surprises. Watch as nodes process in sequence—progress indicators show exactly how far along each step is.
Your generated image appears first, then flows into video generation. When complete, the Video node shows a playable preview. From there you can download it, copy the URL, or run the workflow again with different prompts.
Understanding Node Types
Fizzly Workflows includes several categories of nodes, each serving a different purpose.
AI Nodes (Credit-Consuming)
These are your generative powerhouses: image generation, video generation, upscaling, image-to-image transformation, and LLM text generation (GPT-5 Mini, Grok 4.1 Fast, Claude Haiku 4.5). They use your credits and run on our infrastructure. The credit cost for each node displays directly in the interface before you run.
Utility Nodes (Free)
Here's what sets Fizzly apart: blur, crop, brightness, contrast, hue & saturation adjustments cost nothing. Build complex post-processing chains without credit anxiety. Need to crop an image, adjust its colors, then blur the edges? Zero additional cost.
Available utility nodes include:
- Blur Image
- Crop Image
- Brightness & Contrast
- Hue & Saturation
- Combine Text (for building prompts dynamically)
Input Nodes (Free)
Text, number, image upload, video upload—these let you parameterize your workflow. Instead of hardcoding a prompt, connect a Text input node. Now you can run the same workflow with different prompts without editing anything.
Output Nodes
The standard Output node displays results in the editor. But you can also deliver results directly:
- Discord Webhook — Post images and videos to any Discord channel
- Telegram Bot — Send to Telegram chats
- Custom Webhook — POST/PUT/PATCH to any URL you control
Turn Your Workflow Into an API
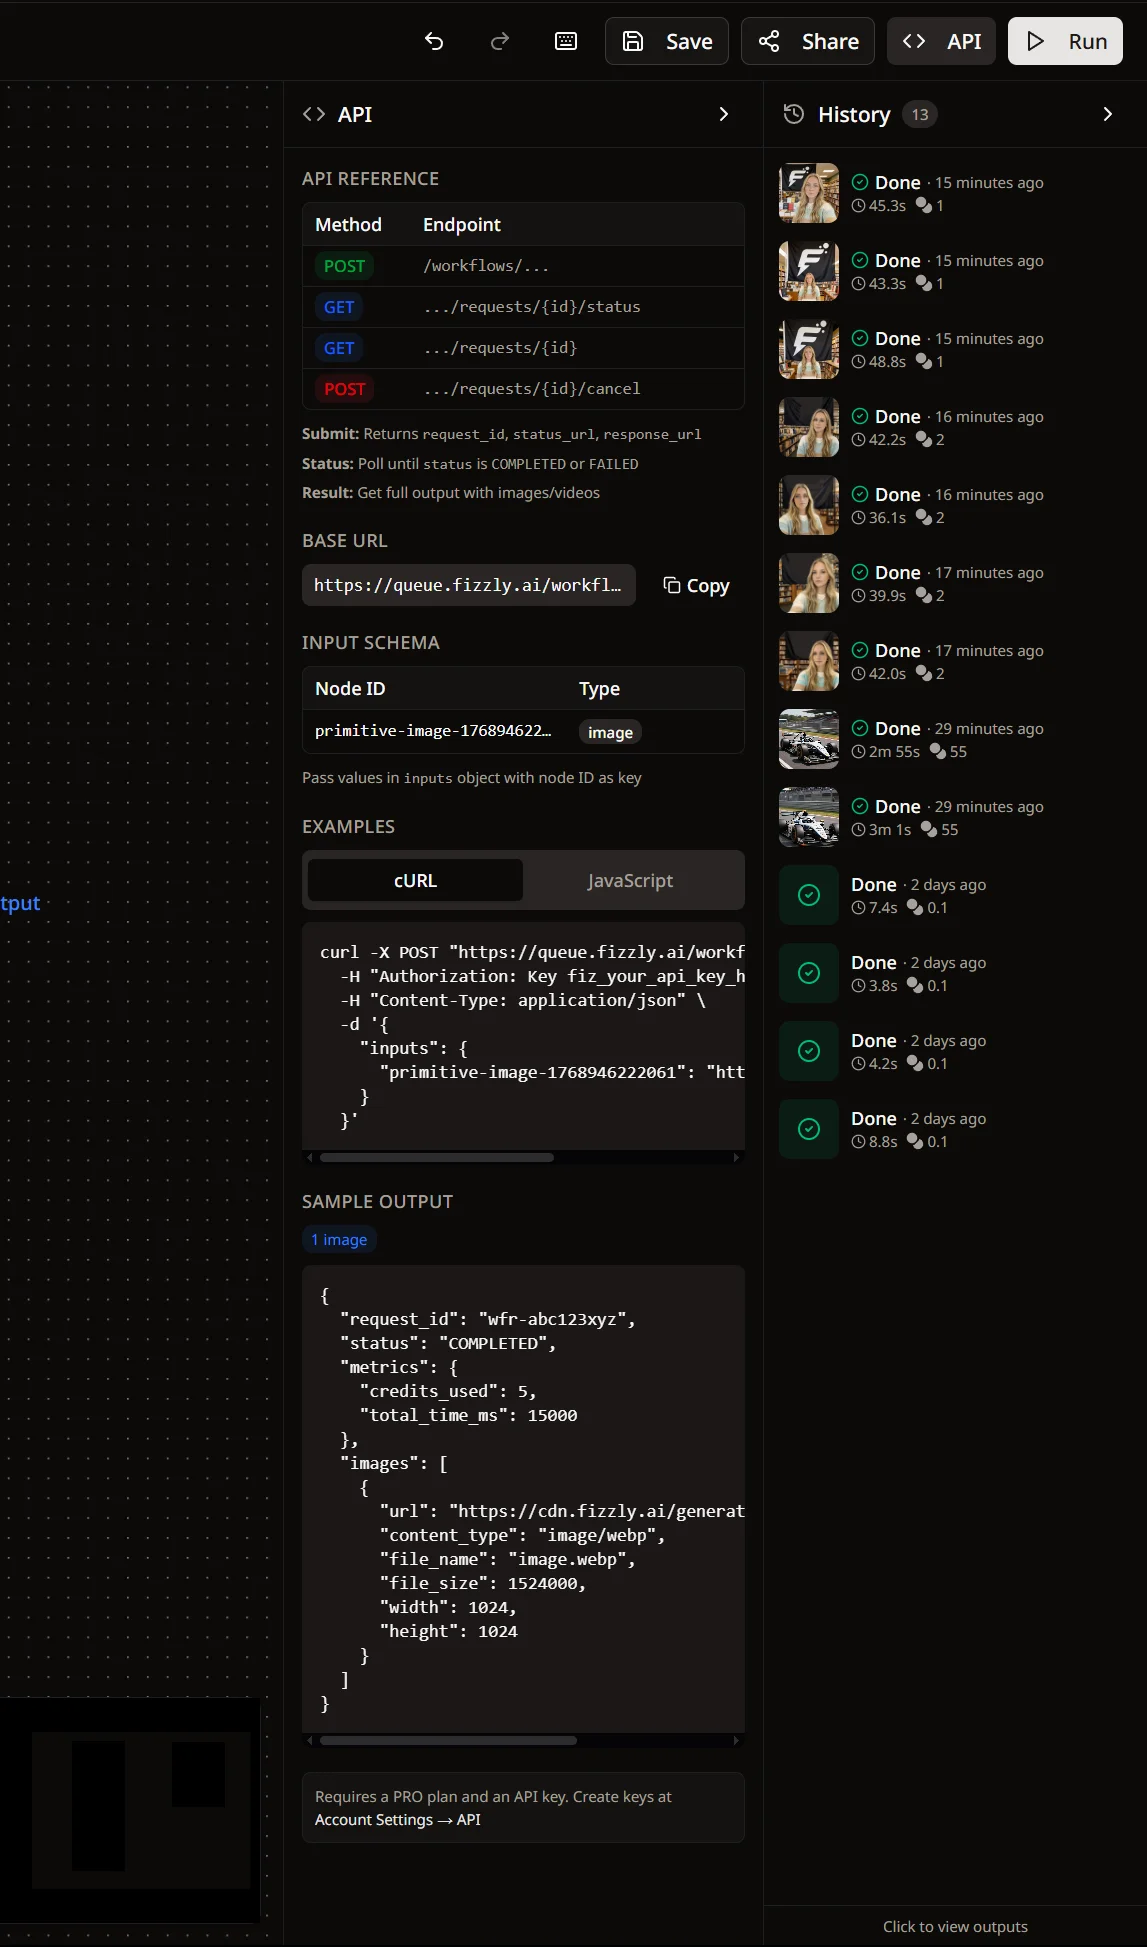
Every saved workflow automatically becomes a REST API. Click the API tab to see your endpoints:
POST https://queue.fizzly.ai/workflows/{username}/{slug}
GET  https://queue.fizzly.ai/workflows/{username}/{slug}/requests/{id}/status
GET  https://queue.fizzly.ai/workflows/{username}/{slug}/requests/{id}
The panel shows input schemas based on your primitive nodes—if you have a Text input node called "prompt", the API expects it in the inputs object. Code snippets for cURL and JavaScript are generated automatically.
Build a workflow once in the visual editor, then call it from anywhere: your app, a script, a Zapier integration. The workflow runs asynchronously, and you poll the status endpoint until it completes.
Example API call:
curl -X POST "https://queue.fizzly.ai/workflows/yourname/image-to-video" \
  -H "Authorization: Key fiz_your_api_key_here" \
  -H "Content-Type: application/json" \
  -d '{"inputs": {"prompt": "a fox in a snowy forest, cinematic lighting"}}'
This unlocks serious automation potential. Batch process content, integrate AI generation into existing tools, or build products on top of your workflows.
Share and Discover
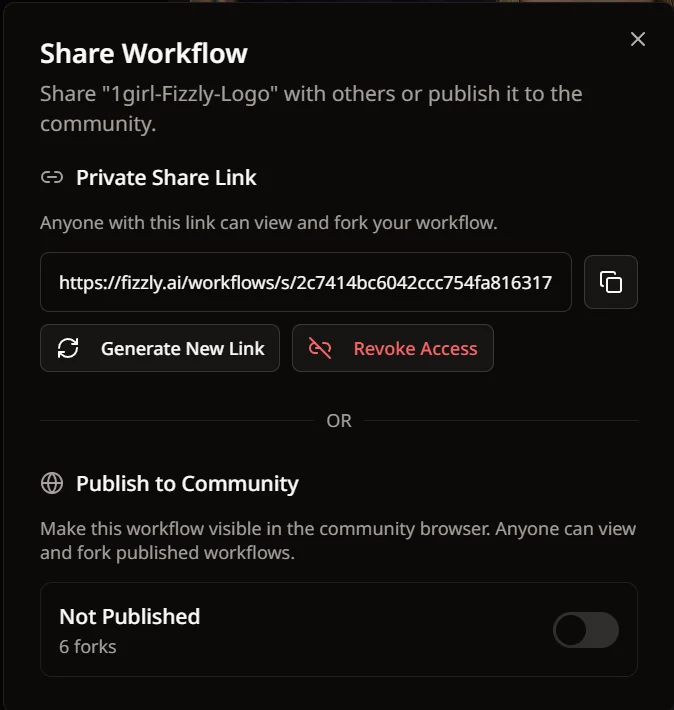
Click Share to generate a private link for collaborators. Anyone with the link can view your workflow and fork it to their own account.
Want to contribute to the community? Click Publish to add your workflow to the public gallery. Others can discover it, fork it, and build on your work. You keep the original—forks are independent copies.
The community gallery is a great place to find inspiration. See how others solve creative problems, then adapt their approaches to your own projects.
Ready to Build Your First Workflow?
Chain AI tools together on an infinite canvas. Free utility nodes, instant API access, and community sharing included.
Why This Matters for Your Work
When you're building something complex, you need tools that grow with you rather than box you in. Fizzly Workflows delivers consistent results whether you're experimenting with a single node or chaining a dozen operations together.
The free utility nodes mean you're not paying for basic image adjustments. The API integration means your workflows aren't stuck in a browser tab—they can power real applications. The community gallery means you're not starting from scratch every time.
Your ideas drive what you create, not the limitations of your software.
Key Takeaways
- Visual builder: Drag, drop, and connect AI tools on an infinite canvas
- Free utilities: Blur, crop, and color adjustments cost nothing
- Instant API: Every workflow becomes an endpoint automatically
- Webhook delivery: Send results to Discord, Telegram, or anywhere
- Community sharing: Publish workflows or fork others' creations
- Real-time feedback: Watch nodes execute with progress indicators and previews
Next Steps
Ready to build your first workflow? Head to /workflows and start experimenting. Try the image-to-video pipeline we built above, then explore what else you can chain together.
Related Reading: