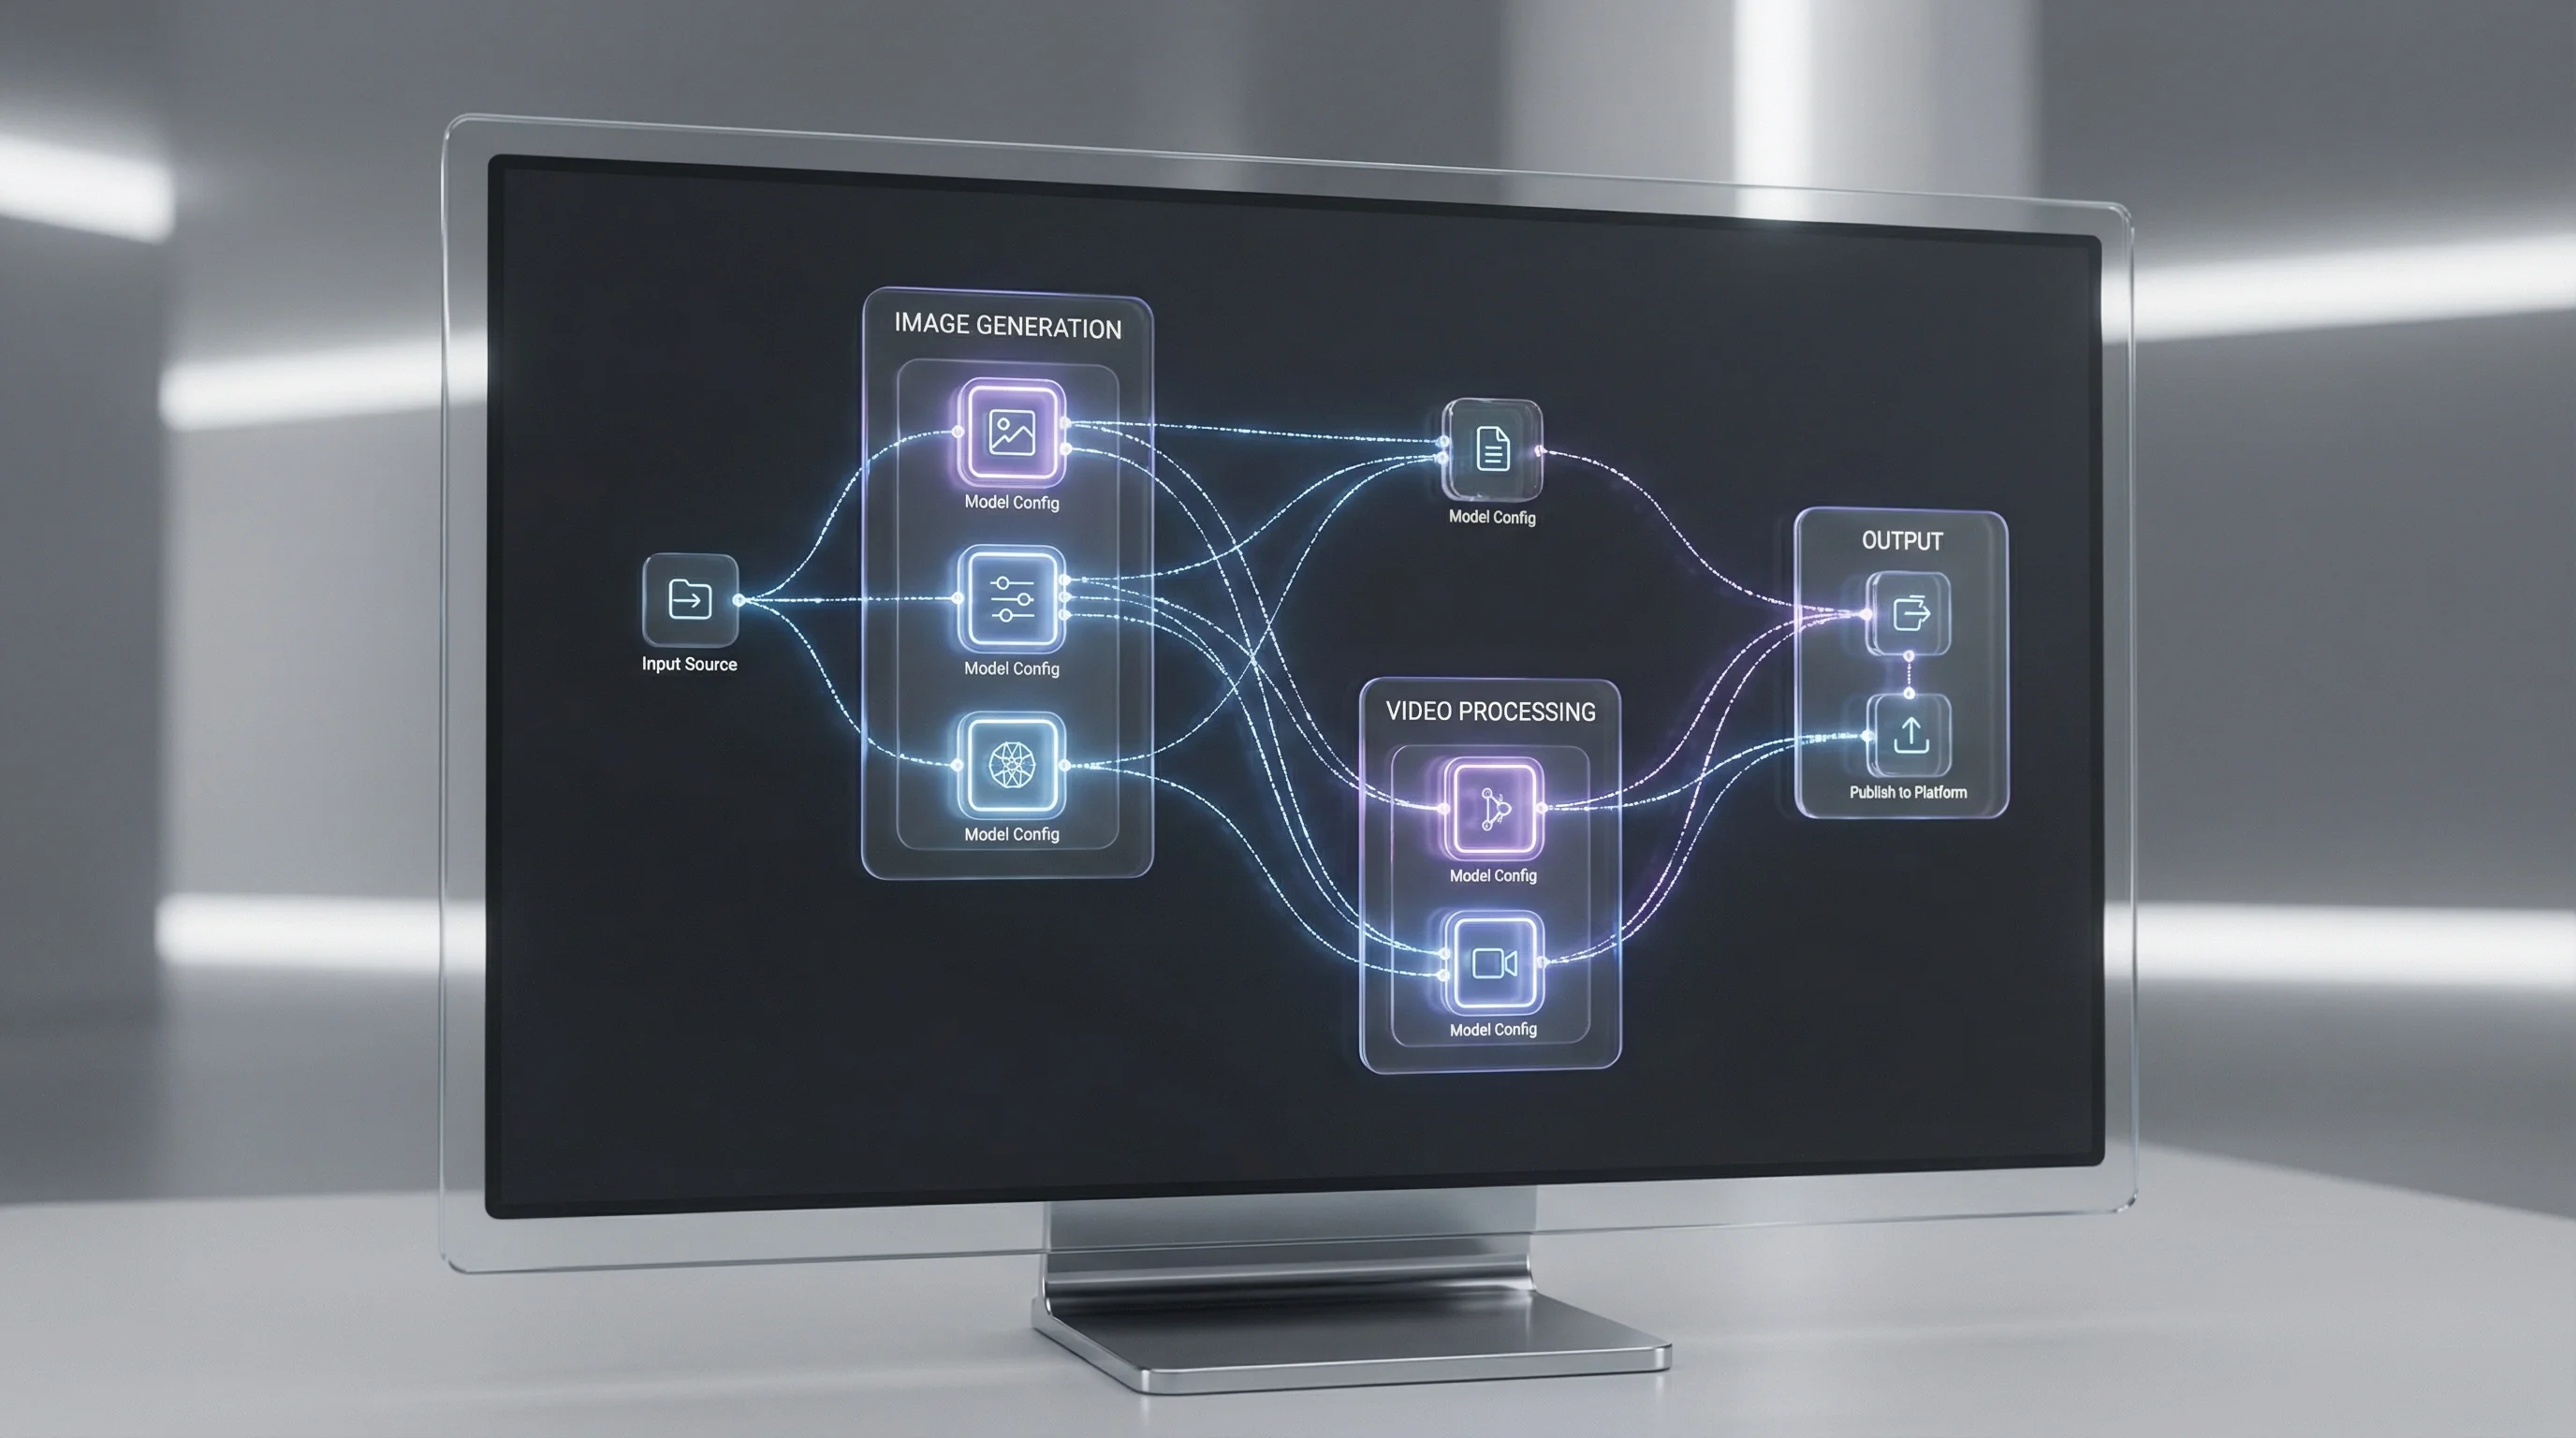
Kling 2.6 Motion Control: The Complete Guide
Learn how to use Kling 2.6 Motion Control to transfer movements from any reference video to your AI characters. Create professional dance videos, product demos, and more.
Kling 2.6 Motion Control: The Complete Guide
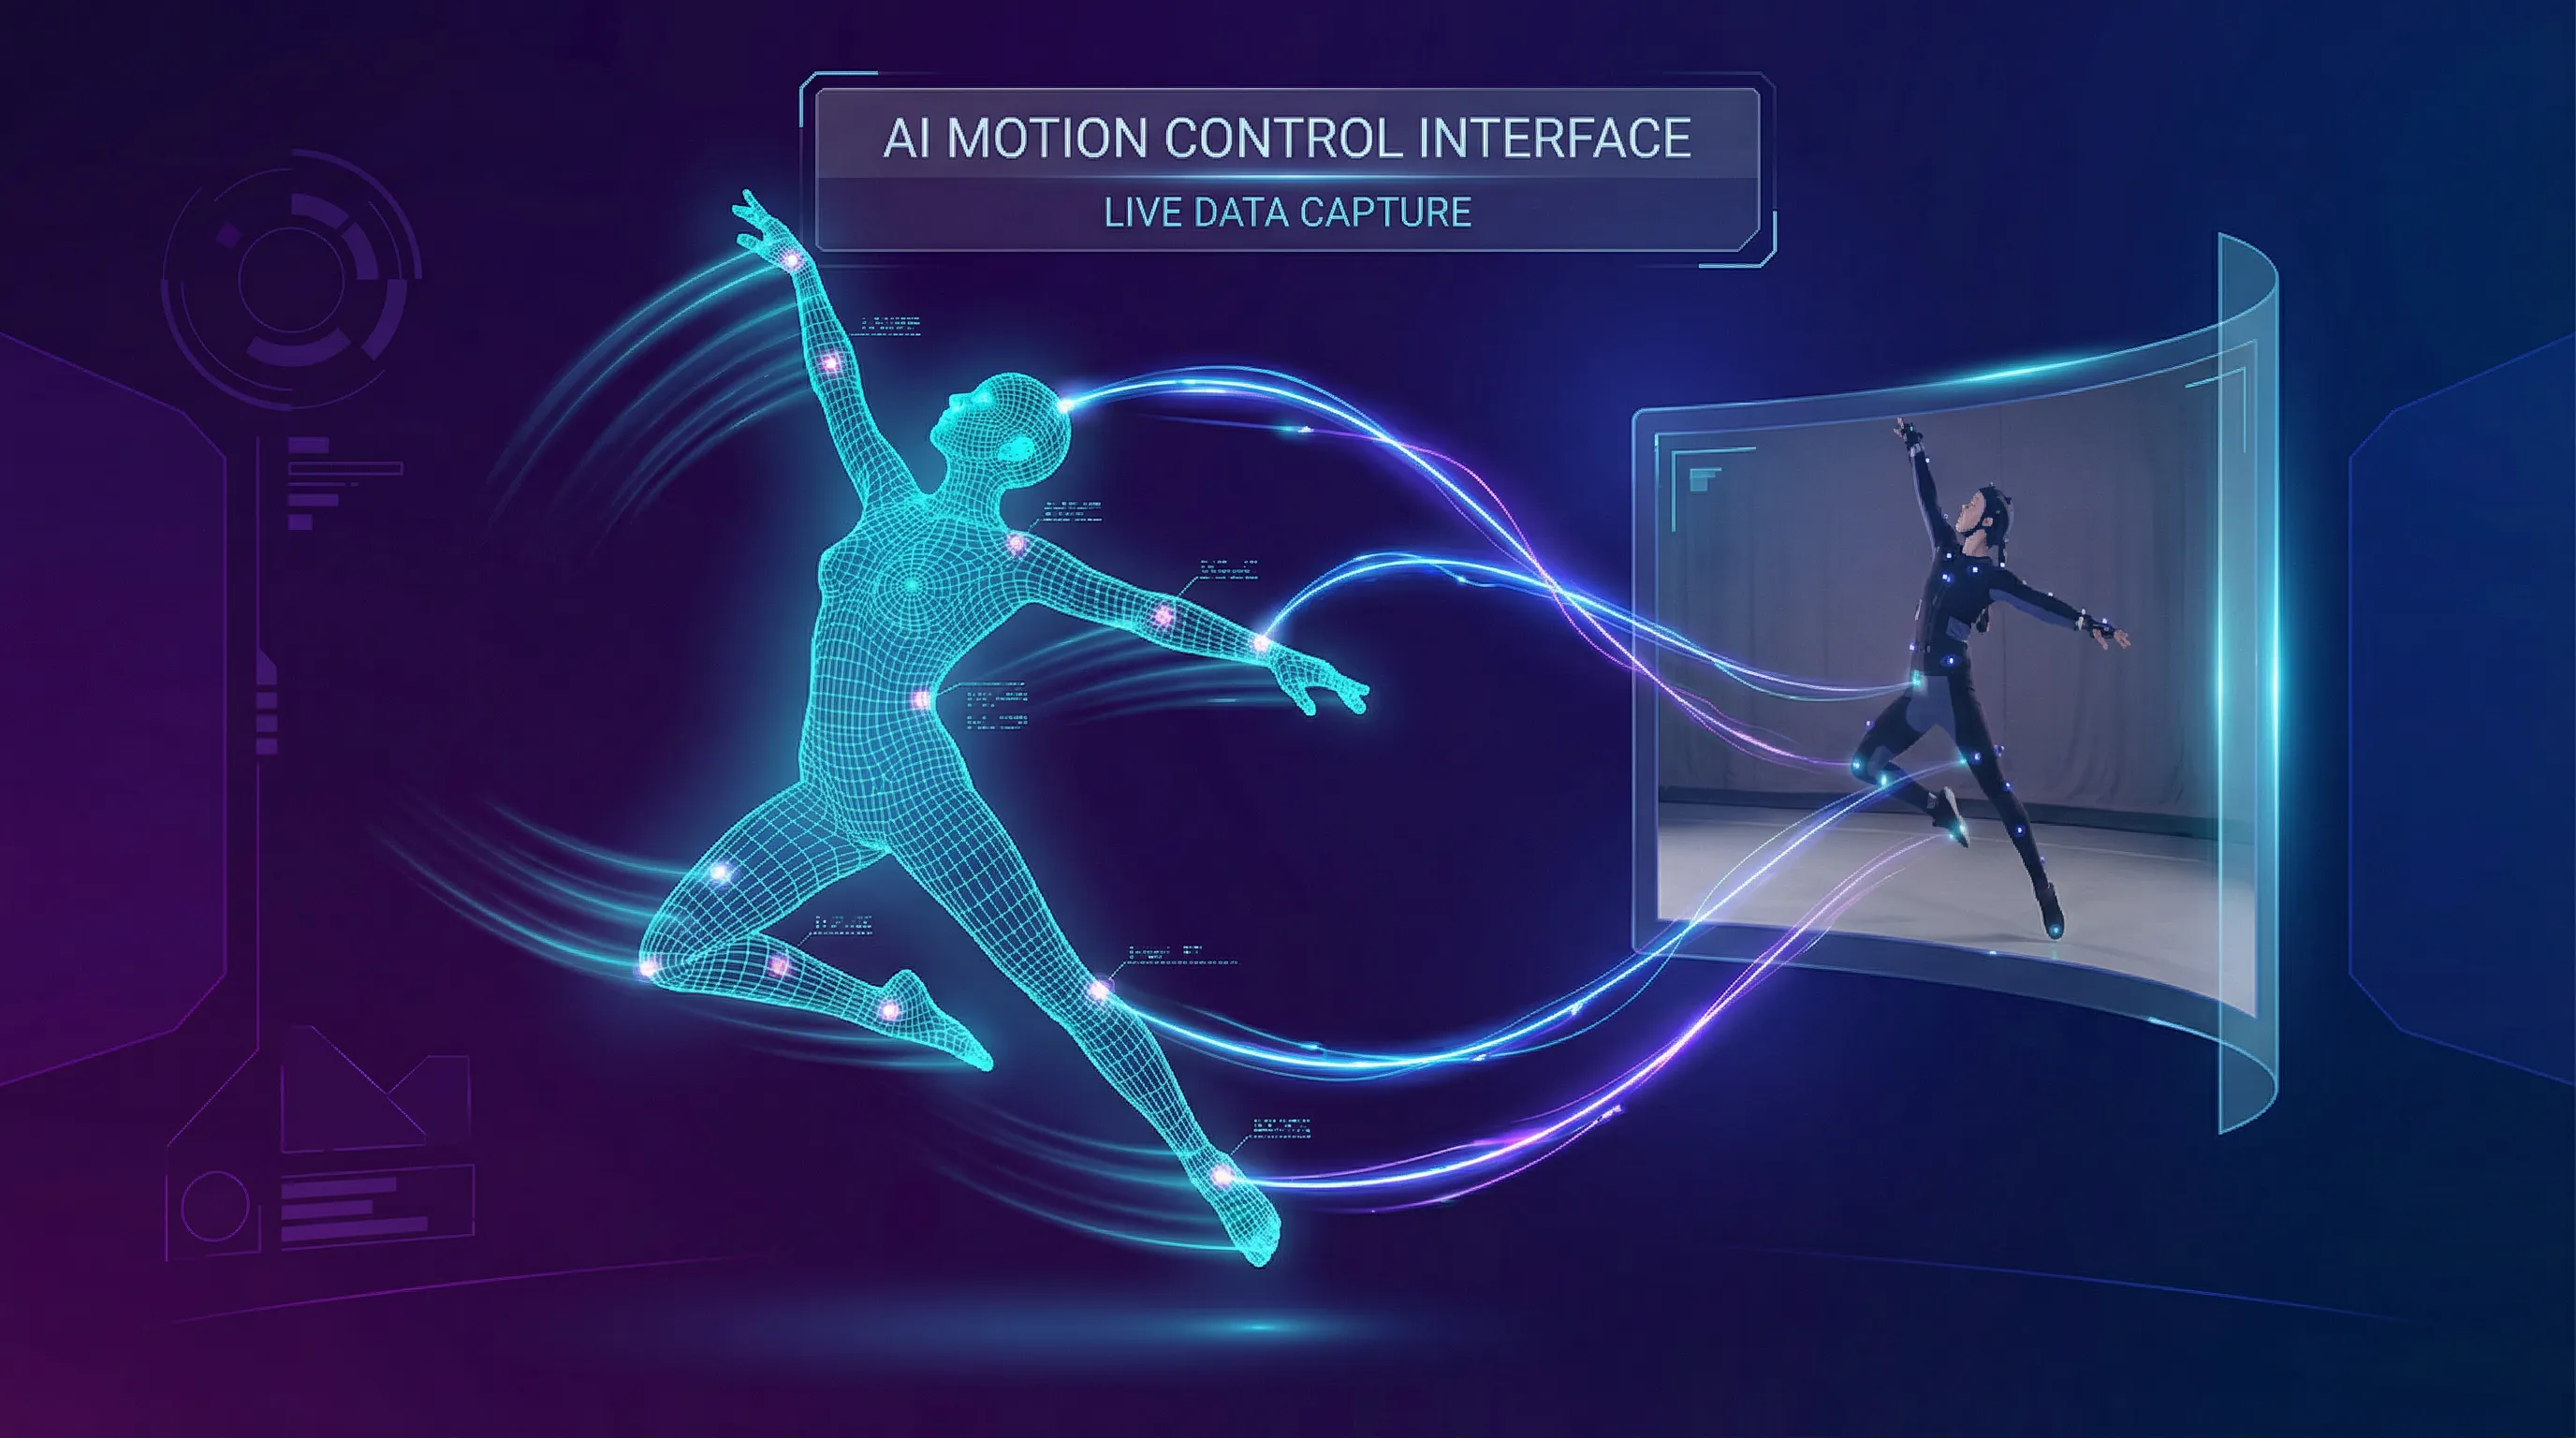
What if you could make any character perform any movement—without filming a single frame? Kling 2.6 Motion Control makes this possible by transferring motion from a reference video directly onto your character images.
This isn't basic image-to-video generation. Motion Control acts as a digital puppeteer, analyzing every gesture, expression, and movement in your reference footage and applying it to your chosen character with remarkable precision. The result? Professional-quality video content that would normally require studios, actors, and weeks of production.
Why Motion Control Changes Everything
Traditional video creation has always faced the same bottleneck: you need real people performing real actions. Even with AI image generation, creating dynamic video content meant either accepting whatever motion the AI imagined or spending hours tweaking prompts hoping for the right result.
Motion Control flips this entirely. You bring:
- A character image (your subject)
- A reference video (the action you want)
The AI handles the fusion—preserving your character's identity while executing the exact movements from your reference. Dance routines, hand gestures, facial expressions, athletic movements—if you can find or record it, you can transfer it.
What Makes Kling 2.6 Motion Control Different
This isn't your typical motion transfer. Here's what sets it apart:
Complex Motion Handling: The model understands body physics. Weight transfer, momentum, balance—when your reference shows a jump or a spin, the generated character reflects that physical reality rather than floating unnaturally.
Precision Hand & Finger Movement: Hands have been AI video's weakness for years. Motion Control specifically excels at finger articulation, making it viable for product interactions, sign language, and detailed gestures.
Audio Preservation: The original audio from your reference video carries through to the output. Music, dialogue, ambient sound—it's all retained, saving you from audio syncing headaches.
Up to 30 Seconds of Output: Most AI video tools cap at 5-10 seconds. Motion Control delivers up to 30 seconds in video orientation mode, enabling complete sequences without stitching multiple clips.
How to Use Motion Control: Step by Step
Ready to create your first motion-controlled video? Here's exactly how to do it.
Step 1: Prepare Your Character Image
Your output quality depends heavily on your source image. Follow these guidelines:
Show the Full Body (or Relevant Parts) If your reference video shows full-body movement, your character image should show their full body. Cropped or partial images force the AI to "imagine" missing limbs, often with mixed results.
Keep Limbs Visible Hands in pockets? Arms behind the back? If your reference requires those limbs to move, the AI will struggle. Choose images where all moving body parts are clearly visible.
Leave Breathing Room If your character will dance, jump, or extend their arms, they need space in the frame. A tightly cropped headshot won't work for a full-body dance routine.
Match the Framing Close-up reference video? Use a close-up character image. Full-body reference? Full-body character. Mismatched scales create warping and shaking artifacts.
Pro Tip: Use AI image generation to create character images specifically designed for motion control—full body, neutral pose, visible limbs, with room to move.
Step 2: Select Your Motion Reference Video
The reference video acts as the skeleton for your generation. Choose wisely:
Prioritize Clear Silhouettes Videos where the subject stands out against the background transfer better. High contrast between the person and their environment helps the AI isolate movements accurately.
Match Your Character's Framing This cannot be overstated. A reference video filmed as a medium shot won't map well to a portrait-style character image. The scales need to align.
Simple Backgrounds Work Best Complex, busy backgrounds can confuse the motion extraction. Clean backgrounds—solid colors, simple rooms, outdoor spaces without clutter—produce the cleanest results.
Consider Movement Complexity Start with moderate movements before attempting complex choreography. Walking, talking, simple gestures—master these before moving to backflips and breakdancing.
Step 3: Choose Your Orientation Mode
Motion Control offers two distinct modes that fundamentally change how the output is generated:
Image Orientation (Up to 10 seconds)
- Prioritizes your character image's pose and framing
- The camera stays relatively fixed on your character
- Best for: Talking head videos, subtle movements, maintaining specific character positioning
Video Orientation (Up to 30 seconds)
- Follows the reference video's camera movement and framing
- Your character adapts to match the reference's perspective
- Best for: Dance videos, action sequences, dynamic camera work
Choose based on what matters more: preserving your character's original composition or faithfully replicating the reference video's cinematography.
Step 4: Generate Your Video
With your assets prepared:
- Navigate to Video Generation
- Select Kling 2.6 Motion Control as your model
- Upload your character image
- Upload your motion reference video
- Choose your orientation mode (image or video)
- Select resolution (720p Standard or 1080p Pro)
- Hit generate
The AI processes your inputs and delivers a video where your character performs the exact movements from your reference—with their identity intact.
Ready to Try Motion Control?
Transform any character into a dynamic performer. Upload your reference video and watch the magic happen.
Practical Use Cases
Motion Control isn't just a technical showcase—it solves real creative problems.
Virtual Influencers & AI Characters
Creating an AI influencer? Motion Control lets your virtual personality perform trending dances, react to events, and create dynamic content without ever stepping in front of a camera.
Film yourself performing a gesture or find reference footage online, then transfer that motion to your AI character. Same personality, same look—completely new content possibilities.
Product Demonstrations
Hands interacting with products have always been challenging for AI. Motion Control excels here. Record yourself (or find footage of) hands manipulating a product, then transfer that motion to generated hands in a controlled environment.
Perfect for:
- Tech product reveals
- Beauty application tutorials
- Unboxing sequences
- How-to demonstrations
Content Localization at Scale
Here's where Motion Control gets powerful for brands. Take a single "hero" performance video and apply it to different character images representing diverse demographics, styles, or brand personas.
Same choreography. Same timing. Different characters. Zero additional filming.
Music Videos & Creative Projects
Dance choreography, lip-sync performances, dramatic movements—all transferable. Record a performance once, then apply it to any character design. Experiment with styles, settings, and characters without re-shooting.
Best Practices for Professional Results
After extensive testing, here's what separates good Motion Control outputs from great ones:
Image Preparation Checklist
- Full body visible (if reference shows full body)
- All limbs clearly visible and unobstructed
- Neutral or matching pose to reference starting position
- Adequate negative space for movement
- Resolution of at least 1024px on the shortest side
- Clean, well-lit image without artifacts
Reference Video Checklist
- Clear subject separation from background
- Consistent lighting throughout
- Stable footage (unless intentional camera movement)
- Frame rate of at least 24fps
- Duration matches your intended output length
- Audio you want to preserve (or silence if adding later)
Orientation Selection Guide
Combining Motion Control with Other Tools
Motion Control is powerful alone, but combining it with other Fizzly tools unlocks even more possibilities.
Face Swap + Motion Control
Have a specific face you need on a performing character? Generate your motion-controlled video first, then use Face Swap to replace the face with your target identity. This two-step process gives you precise control over both motion and identity.
Upscaling for Maximum Quality
Shot in 720p to save credits but need higher resolution for a client? Run your completed video through the Upscaler to enhance quality without regenerating.
Image Generation for Perfect Source Images
Don't have the right character image? Use AI image generation to create exactly what you need—full body, visible limbs, appropriate framing, room to move. Generate multiple options and pick the best candidate for motion control.
Common Mistakes to Avoid
Mismatched Scales Using a headshot image with a full-body dance reference creates distortion. Always match your image framing to your reference framing.
Hidden Limbs If your character's hands aren't visible but your reference requires hand movements, expect artifacts. The AI can't perfectly imagine what it can't see.
Overly Complex References Multiple people, rapid cuts, extreme camera movement—these challenge the model. Start simple, then increase complexity as you learn the tool's capabilities.
Ignoring Audio Remember that your reference video's audio transfers to the output. If you don't want that audio, either use silent reference footage or plan to replace the audio in post-production.
Wrong Orientation Mode Using image orientation for a dynamic dance video flattens the performance. Using video orientation for a static talking head creates unnecessary movement. Match the mode to your content type.
Key Takeaways
- Motion Control transfers movement from reference videos to character images, enabling dynamic content without filming
- Two orientation modes serve different purposes: image mode preserves character composition, video mode follows reference cinematography
- Up to 30 seconds of output in video mode, with preserved audio from your reference
- Preparation matters: well-matched images and references produce dramatically better results
- Combine with other tools like Face Swap and Upscaling for complete creative control
Transform Any Character Into a Performer
Stop being limited by what you can film. With Kling 2.6 Motion Control, any reference video becomes a template for unlimited character performances.
Frequently Asked Questions
What video formats are supported for reference videos? MP4 and MOV are fully supported. Keep file sizes reasonable—under 100MB works best for upload reliability.
Can I use copyrighted music in my reference video? The audio transfers to your output, so copyright considerations apply to your final video. For commercial use, stick to royalty-free audio or plan to replace the soundtrack.
How long does generation take? Typically 2-5 minutes depending on duration and resolution. 1080p Pro takes longer than 720p Standard.
What's the maximum reference video length? Up to 30 seconds in video orientation mode, 10 seconds in image orientation mode. The output duration matches your reference.
Can I use this for commercial projects? Yes, your generated content is yours to use commercially. Check our terms for full details.
Related Reading: